This post contains affiliate links, which means, if you click the link on my website I may make a small commission for advertising this product to you. It does not cost you more, but it helps to keep my site running. Thank you for your support!
Sorry for the delay. Between my computer charger going missing (it was in my living room…) and misplacing my camera cord (it was in the bag…), I was losing my mind. I have found out I am not one of those bloggers who are super organized and can do projects and document them at the same time.
So, here we are! Basement progress! I left off here with the before pictures of the basement and included what our plans were. I can’t even tell you how awesome it is coming along! Even better than the plans.
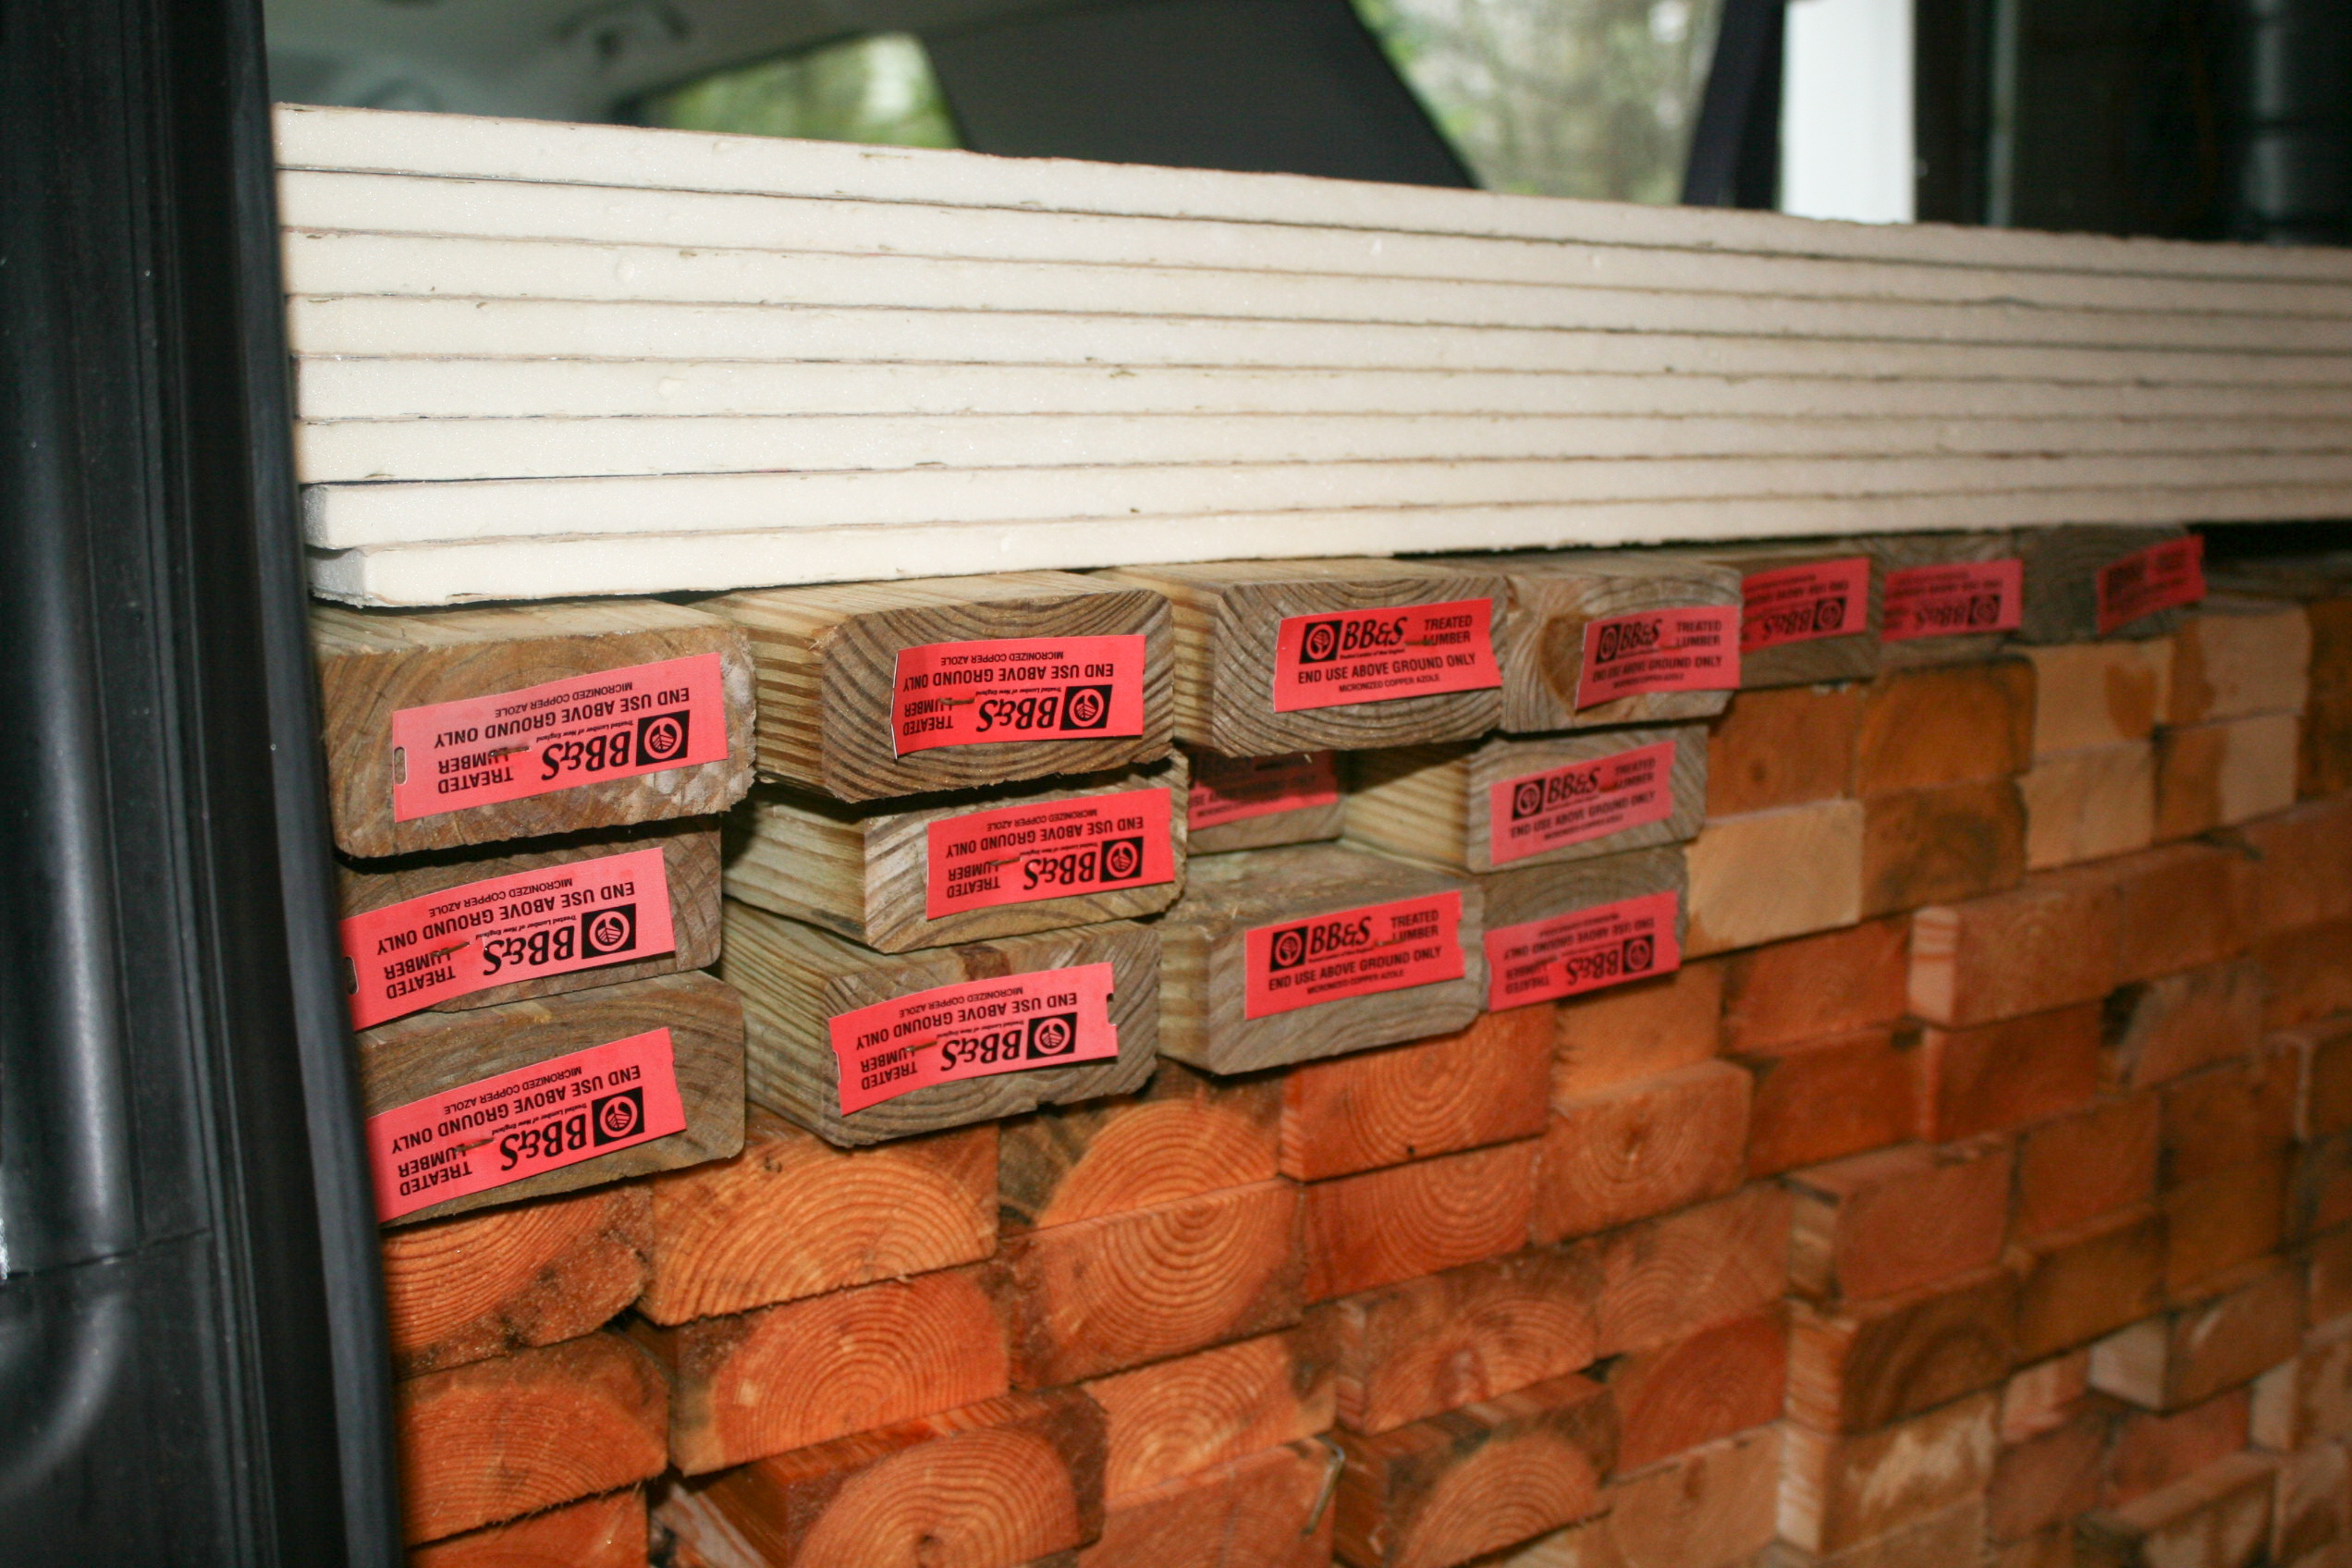
 The lumber has arrived! Please don’t mind the trash… we just moved in!

My awesome dad helping us frame in the first wall!

That’s my brother. This picture pretty much sums him up. He’s off the market ladies, sorry 😉

Framing up the second wall! This is going to be the wall that separates the office and the mechanical/storage area.

Different angle, but looking at from inside the office.

Check it out! Looks like a room! This is the workout area, and that doorway will open into the guest room.

The little hallway into the guest room.

This is the guest room closet. We had to hide the air conditioning unit, so we bumped it out to make a huge closet. It works out nice and makes up for the smaller room, so that guests can store suitcases and other items in here.

Back over to the office, this will be the closet. Conveniently hiding a giant plumbing pipe.
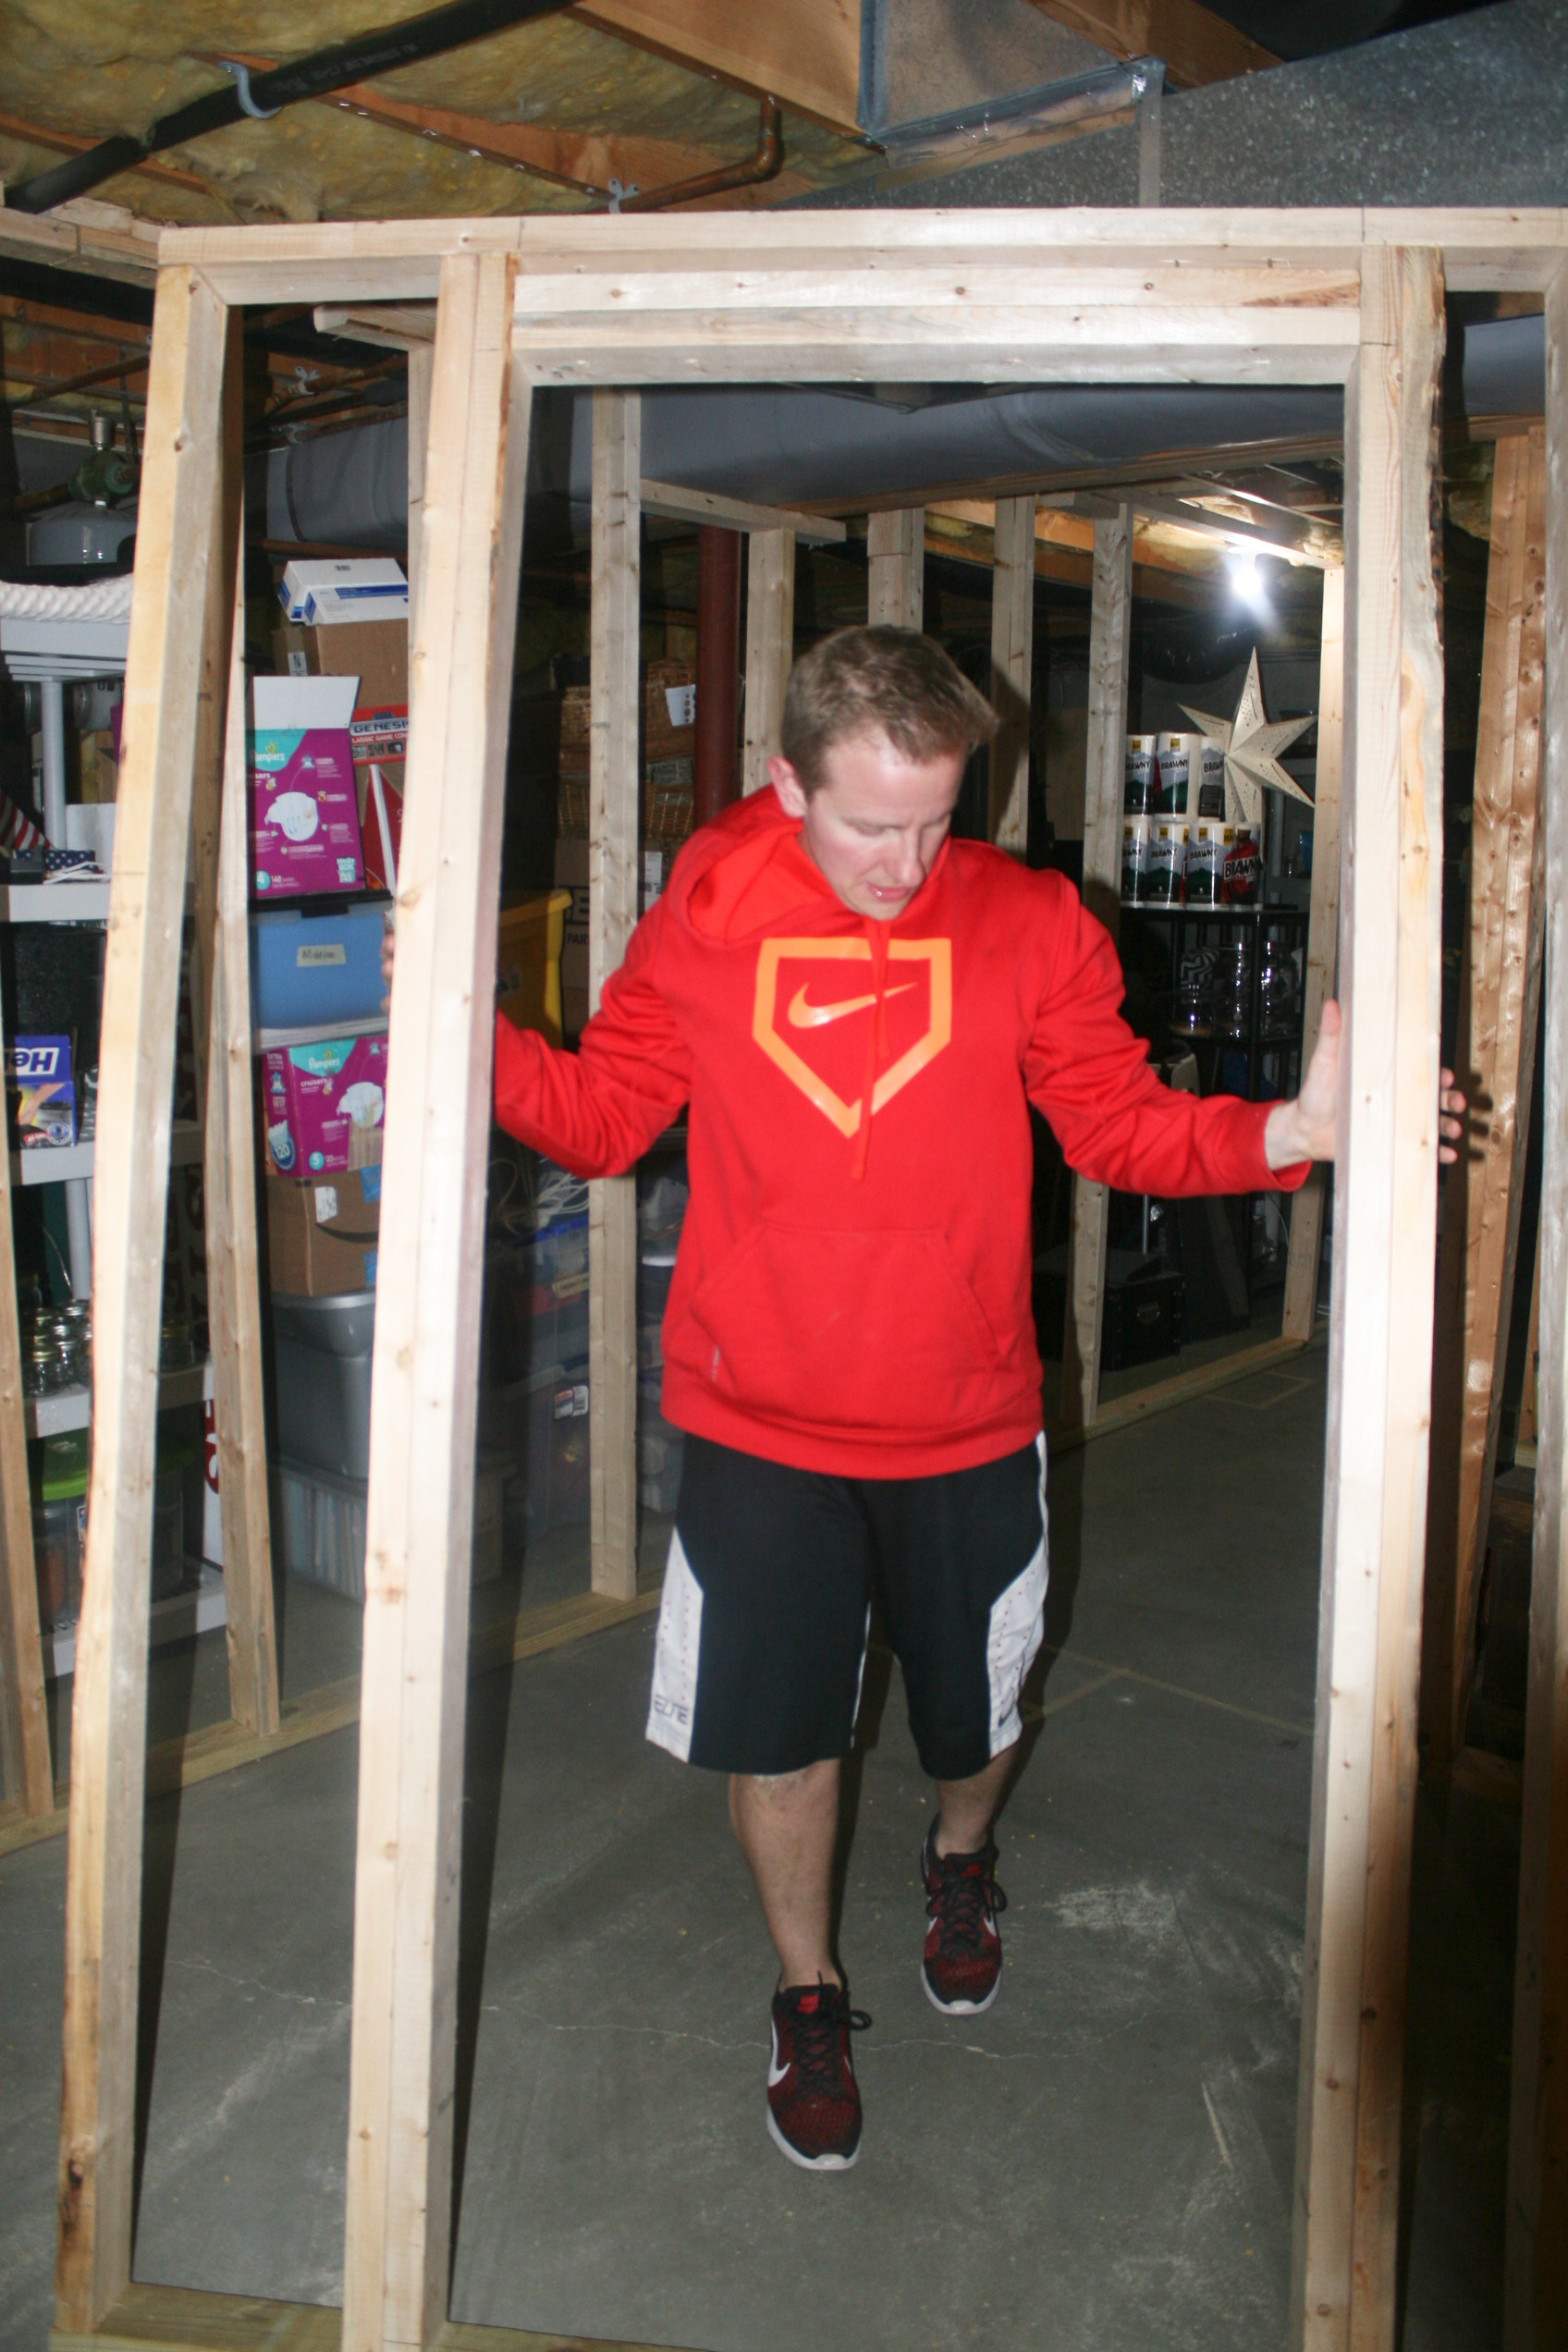
My handy hubby putting up a wall! He did a ton of the work himself, did I mention that? I am so proud of him. On top of working a full time job and balancing a family, somehow he learned how to finish off a basement as well. So thankful for that man!
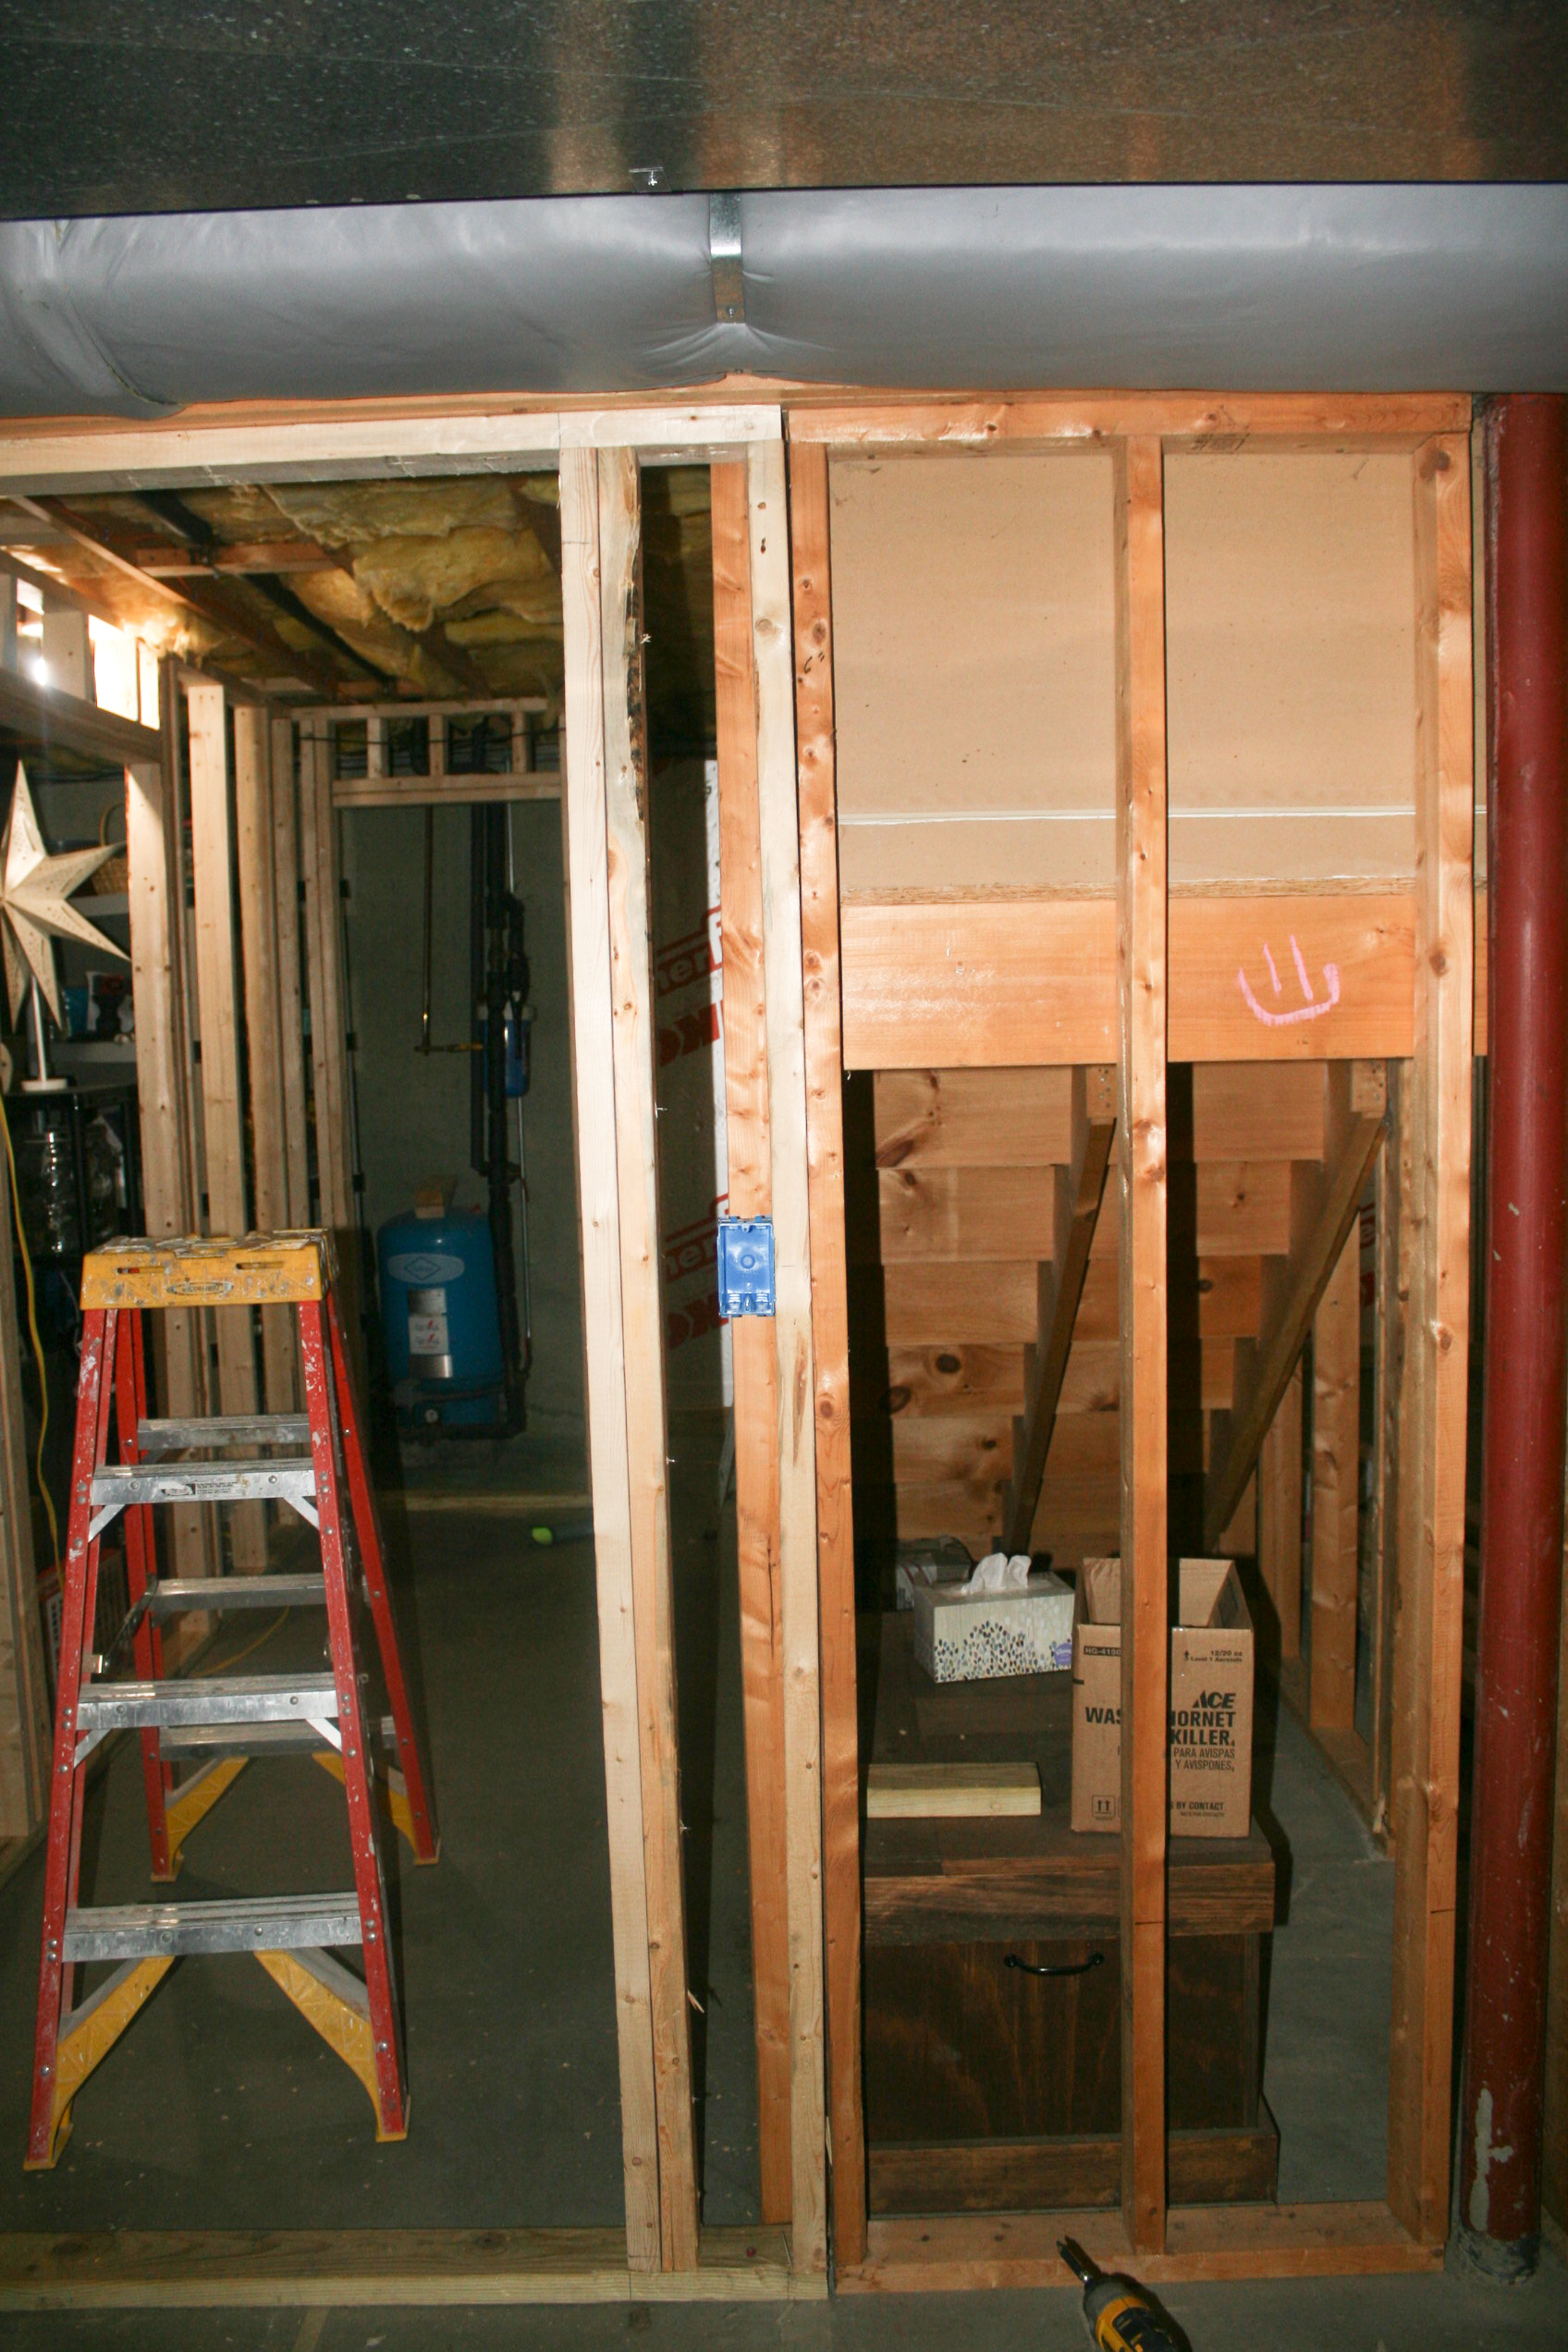
Here’s that wall put up. Have you seen anything more beautiful? 😉

Instead of installing baseboard heat, we opted for an in-wall heater in each room. Much more cost effective option, and perfect for the amount the rooms will be used.

These aren’t as exciting, but you can see some of the electrical work that was done. Electrical work is definitely beyond our skill level, so we had my uncle who is well qualified to do this for us. He installed all the outlets, overhead lighting, heaters, and anything else that involved possible electrocution.
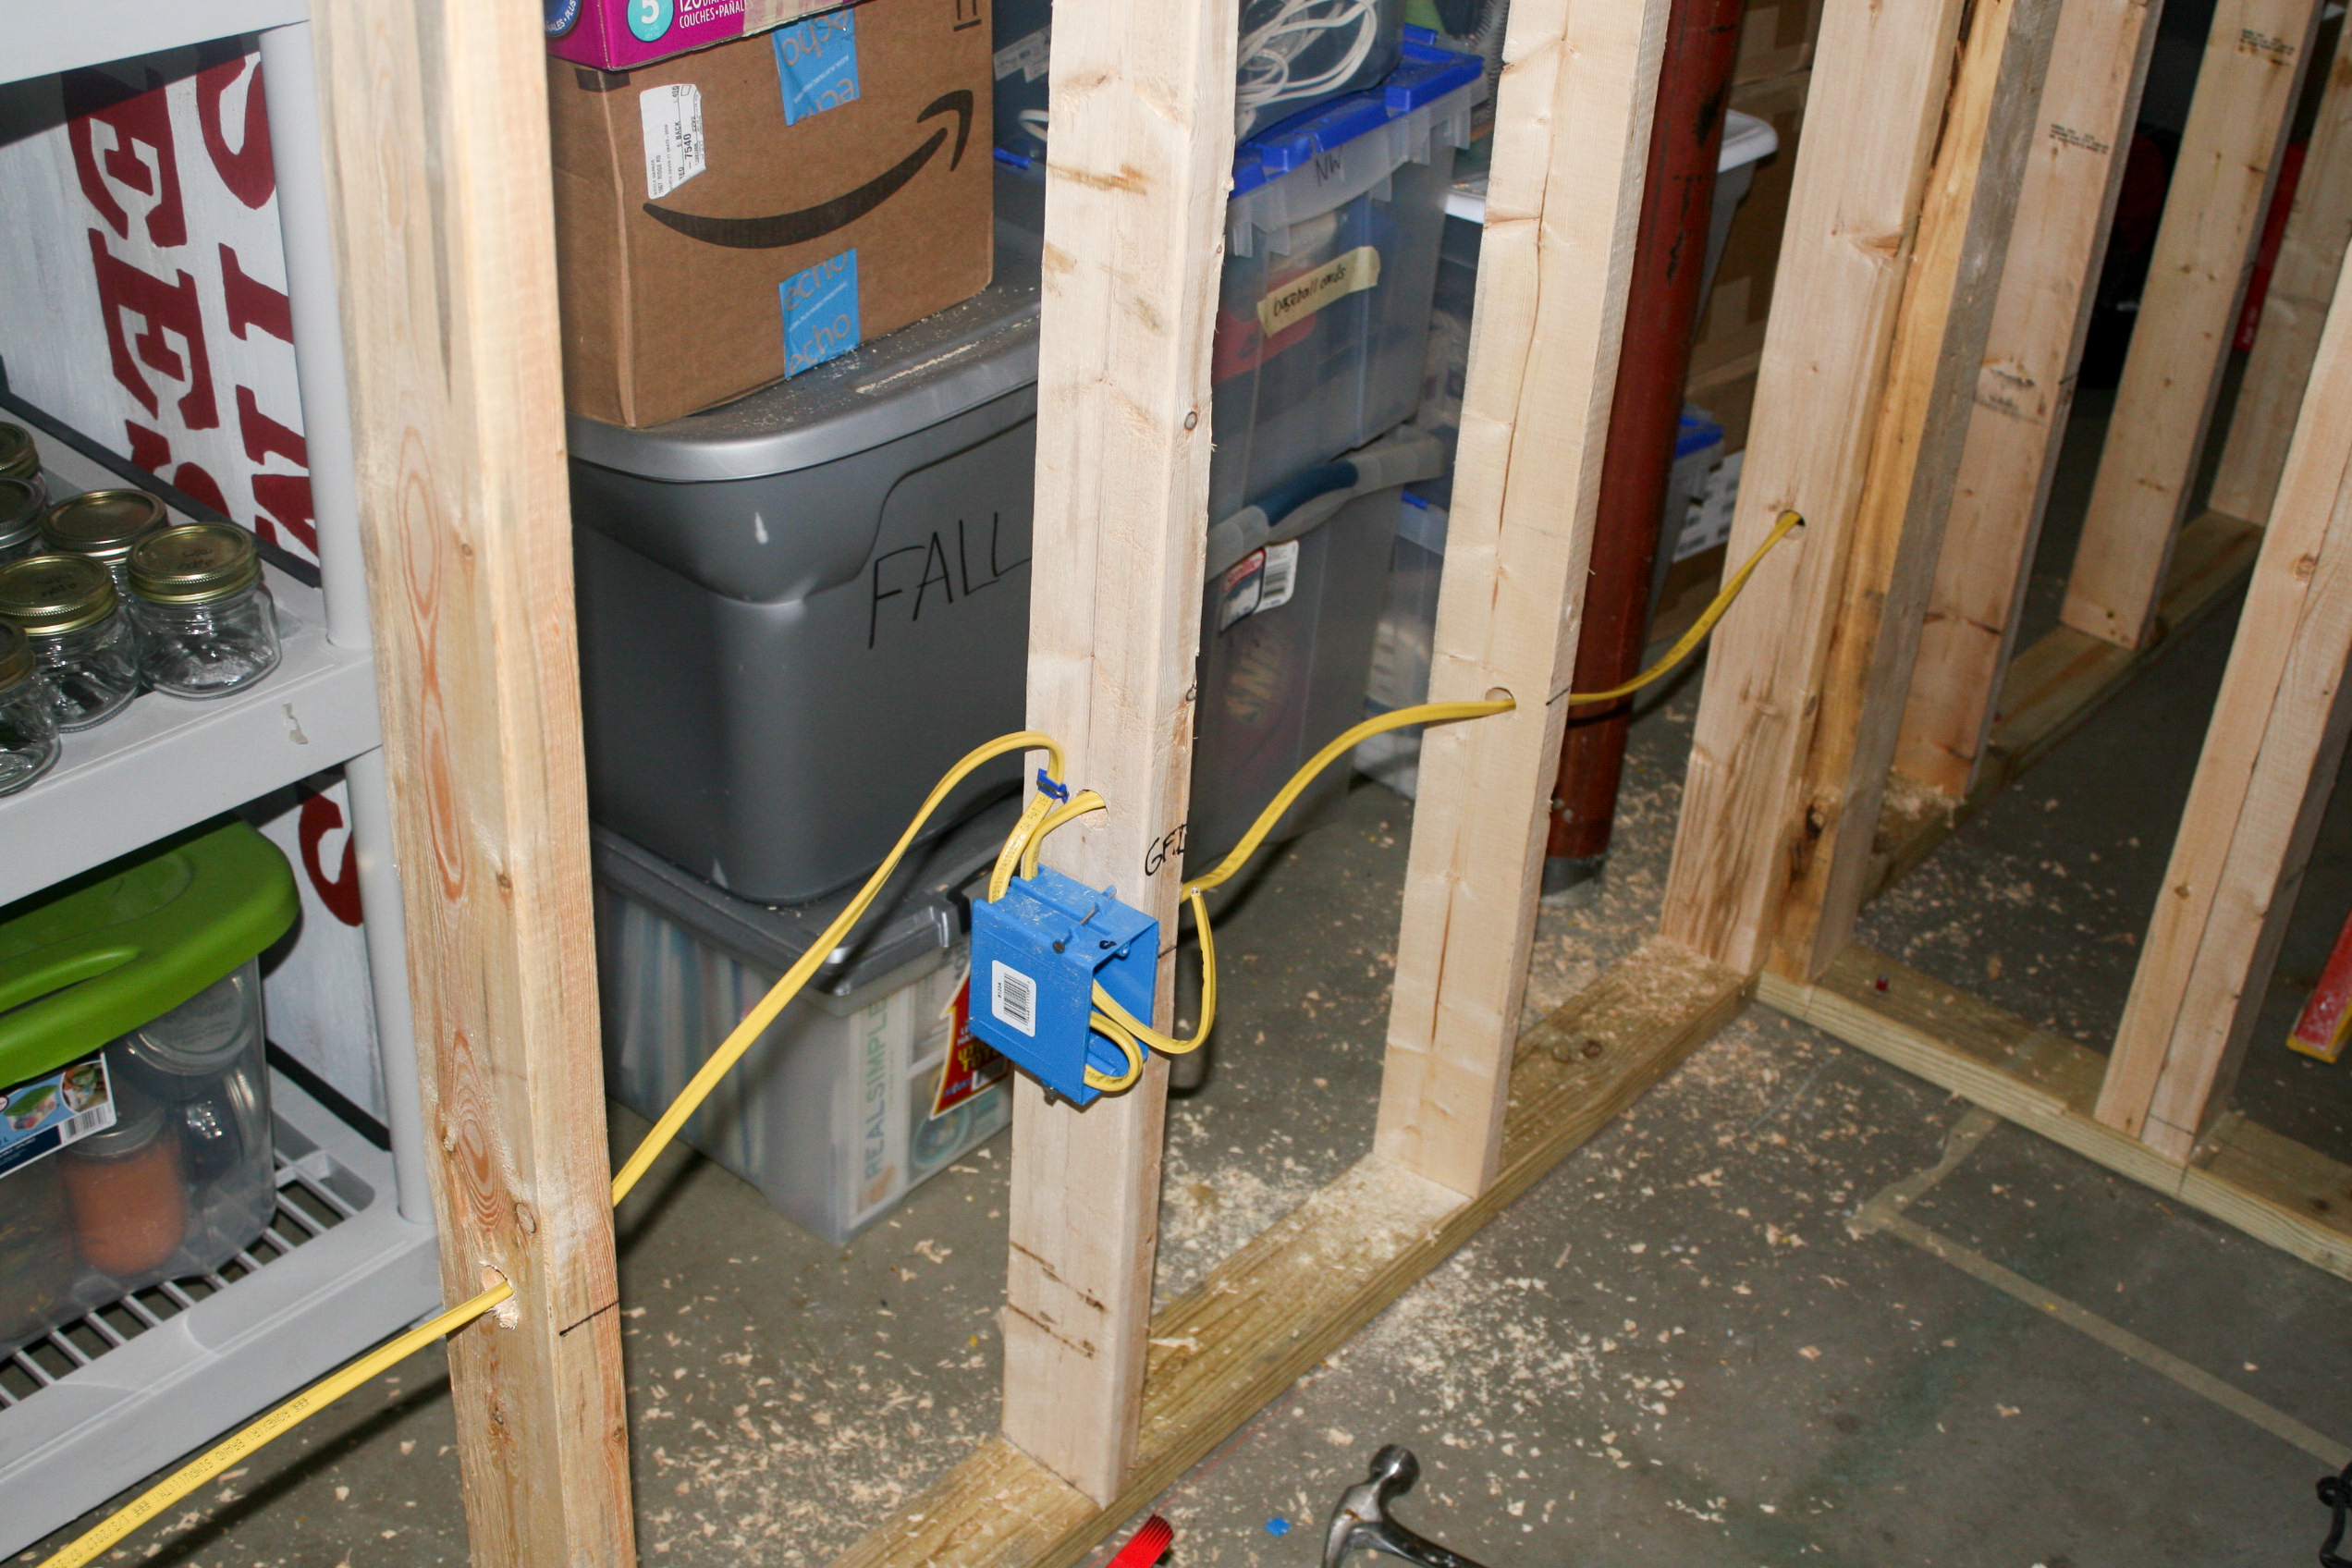
Sorry the pictures aren’t the greatest. Most of the work we did was at night after the kids went to bed, so naturally all these are with flash.
So that’s it for the framing and electrical. I know, not super exciting. Next up we will check out the sheetrock and the things that REALLY make a difference! Stay tuned!
Here are some of the tools that made our life so much easier:
Impact gun
Table saw
Ramset Gun
Work bench ladder

Did you enjoy this post? Don’t forget to subscribe here! Make sure to join the @nicolefergesen community on instagram! Follow me and shop me outfits here. Don’t miss out on updates and inspiration! You can also join my Facebook community and follow my current interests over on my Pinterest. Buy a digital copy of Marcus’ book here.
Leave a Reply