This post contains affiliate links, which means, if you click the link on my website I may make a small commission for advertising this product to you. It does not cost you more, but it helps to keep my site running. Thank you for your support!
If you’ve followed me for a while, you know that the kitchen has been quite a project. We wanted an updated kitchen, but as budget friendly as possible (to make room for other renovations like, say, the closet…..). So I got a jump start a few months after we moved in with painting the cabinets (see that project here). And then we focused on other projects for a while and I didn’t blog for a couple years.
So, fast forward two more years. After Marcus passed, I knew I was going to end up selling the house, it was just a matter of when. So I got to finishing up the kitchen renovation that we started! Here was the list I had compiled for the mini reno and where we left it since the last blog update:
Paint walls
Install new backsplash
Remove cabinets to the left of the sink and add open shelving
Remove cabinets to the right of the refrigerator and add open shelving
Add pendant lights above island
Replace pendant above sink & over eat-in table
Replace blinds with fun pattern?
Build cabinets up to the ceiling
New appliances
(and ultimately) Refinish floors
Add chunkier baseboard & crown molding
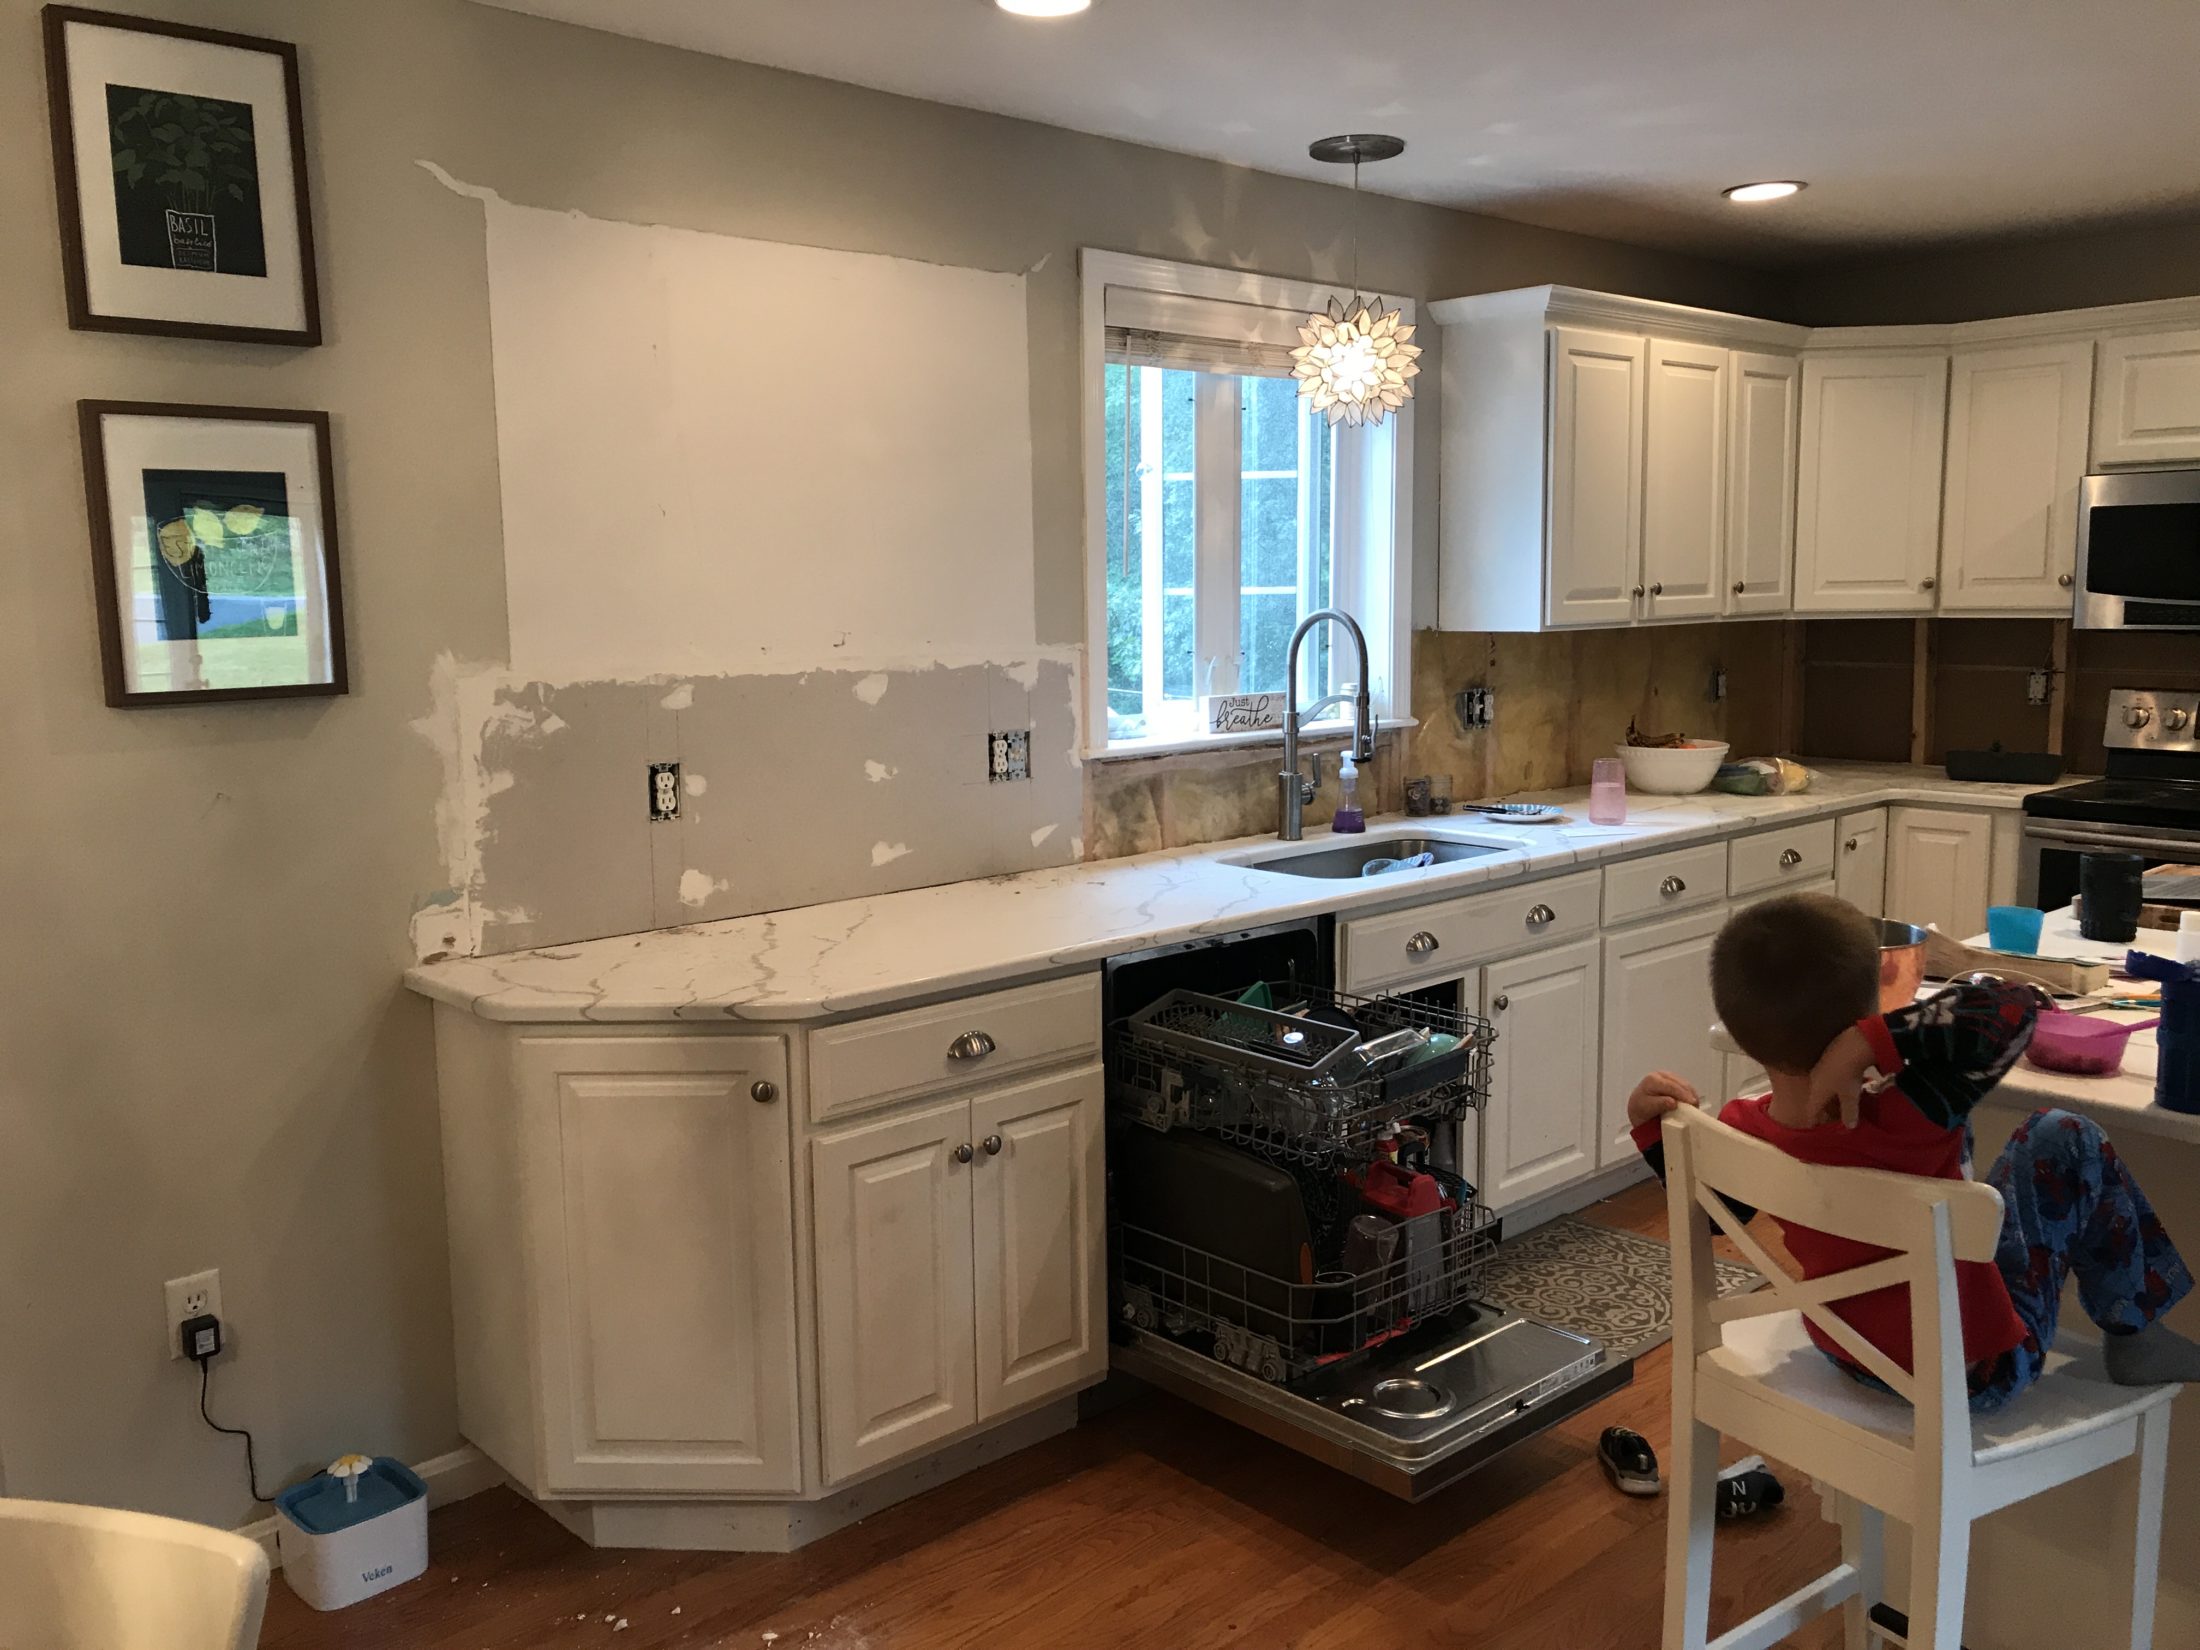
We had replaced our appliances fall of 2018. We also added a new pendant over the sink and fixture over the eat in table. So, the next step in the list after the project pause, was the counters! The house had light Corian and they were honestly not great, and not fitting for my house’s price point. So I upgraded to Quartz and we pulled off the old, ugly backsplash. And by pulling off the old backsplash, I mean my brother and his buddies removed the wall behind the backsplash. The tile was basically cemented to the wall so we were unable to salvage any of it!
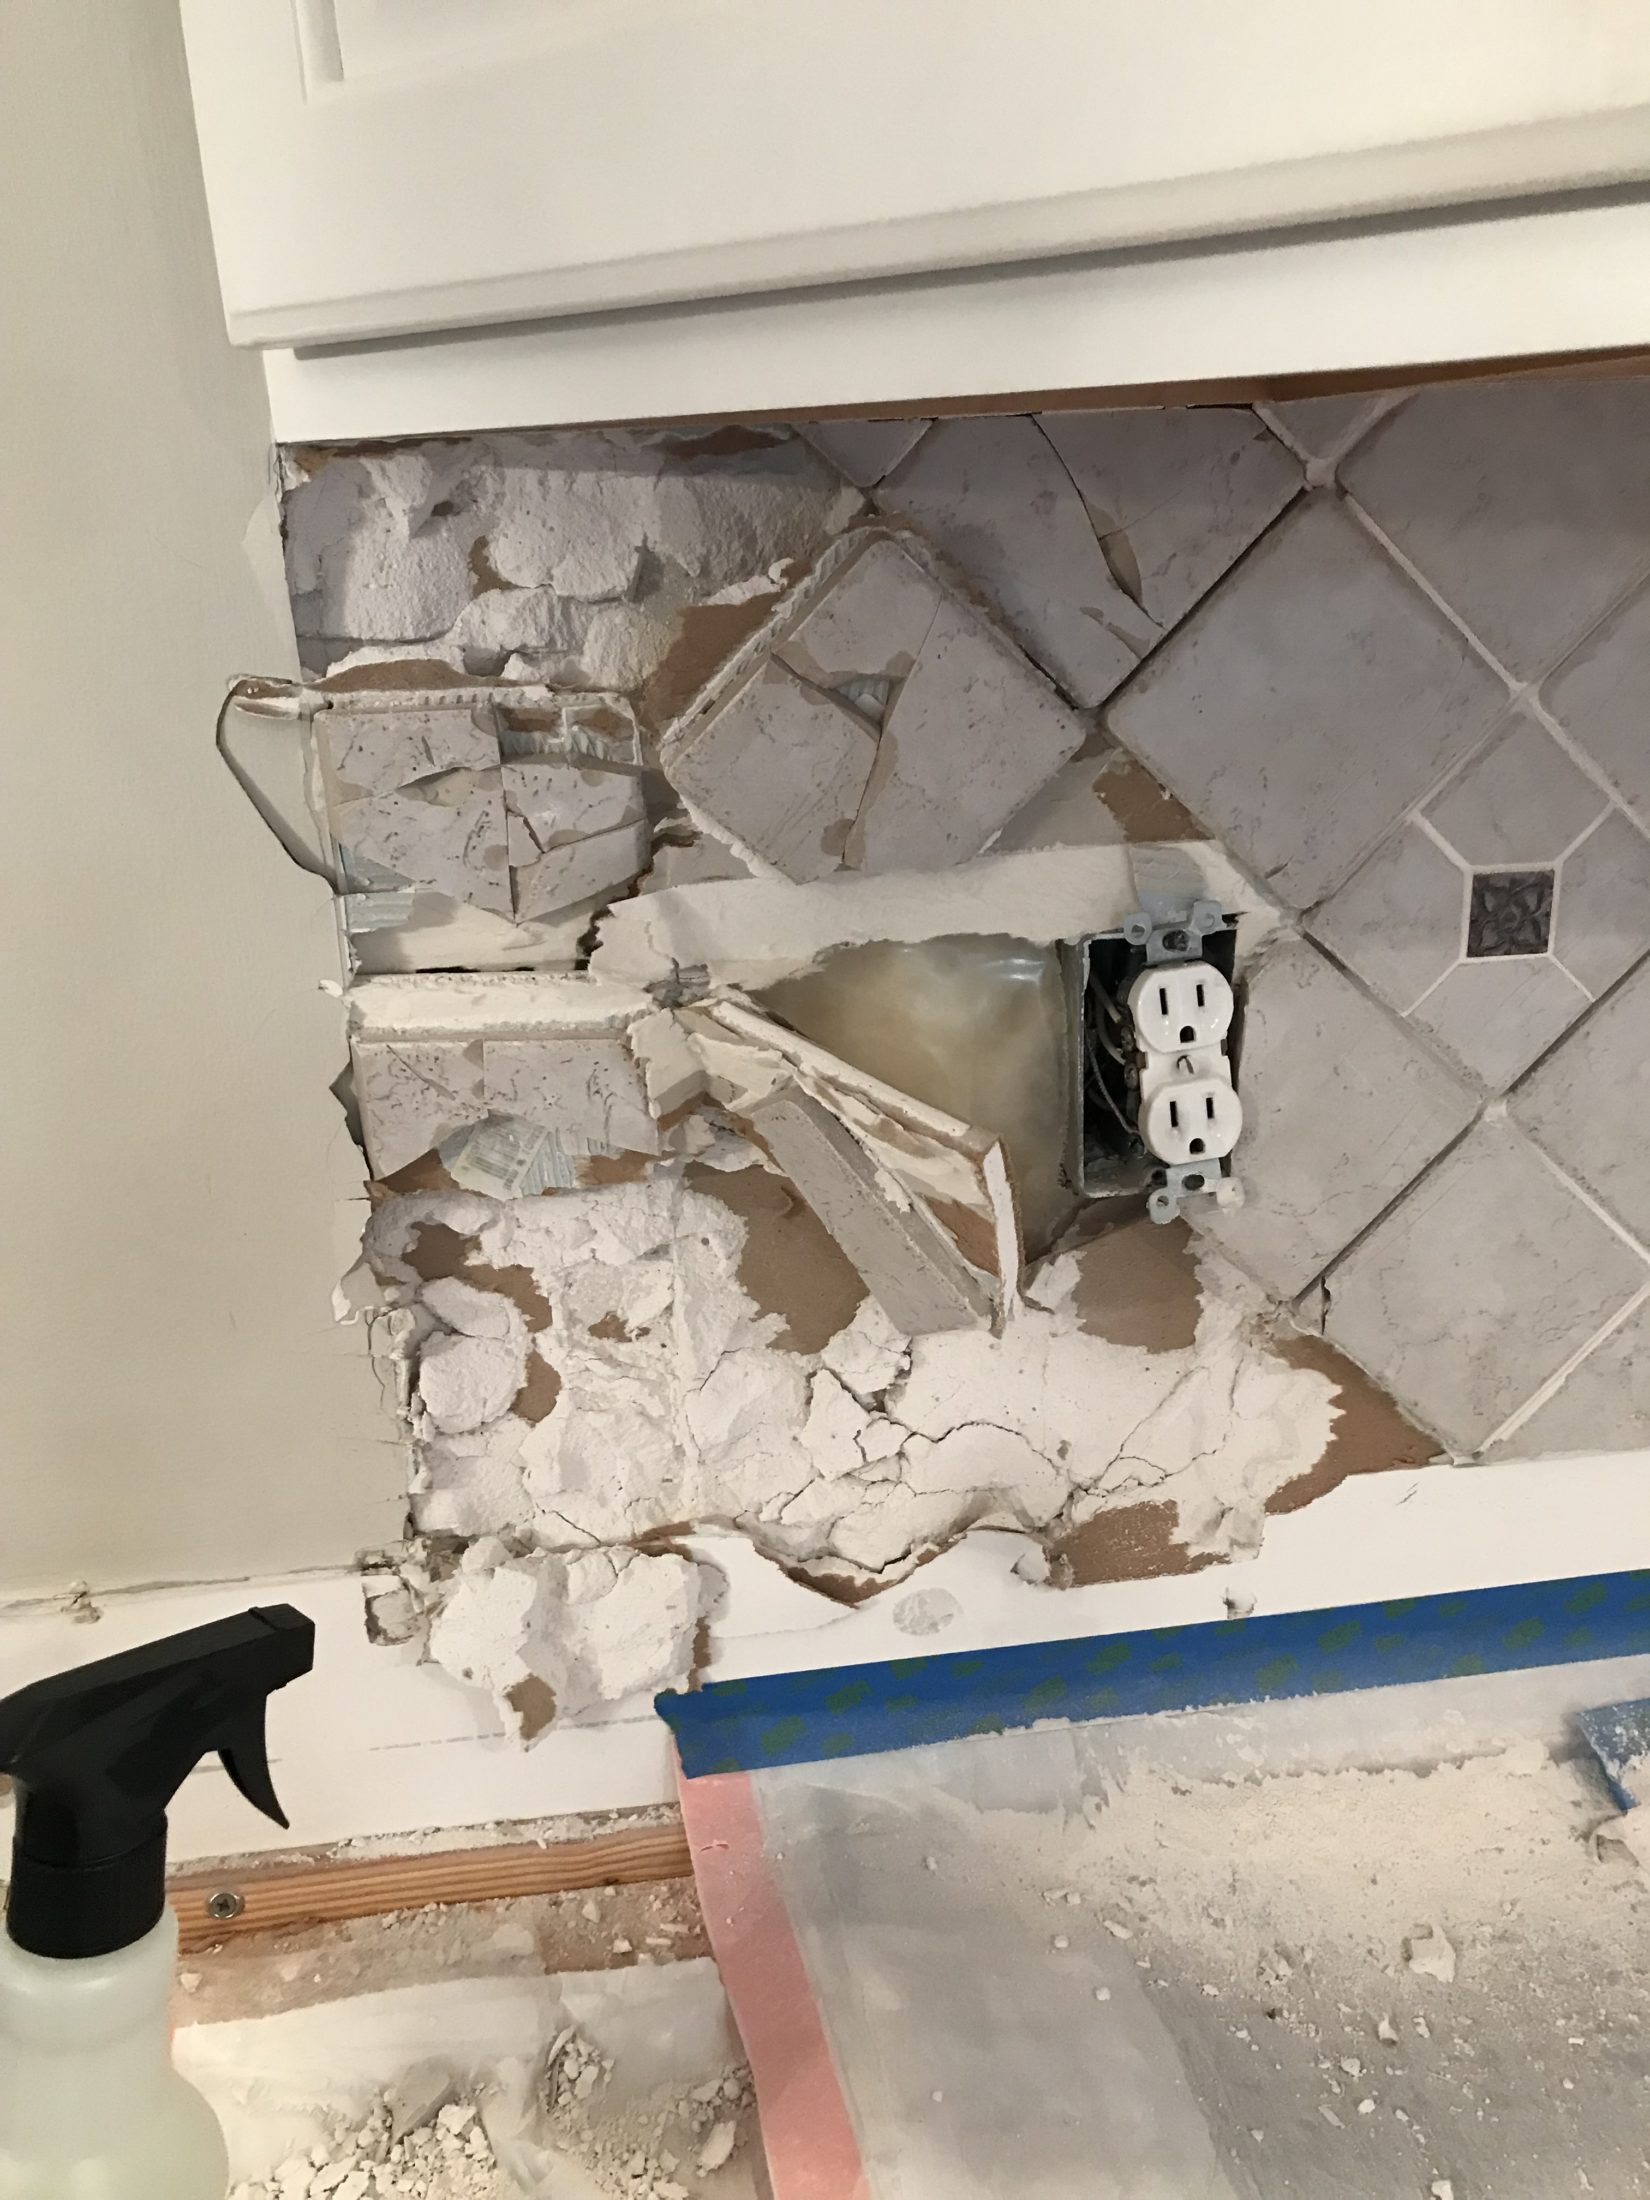

Beautiful, right?
Thankfully we only had to live like this for a few days until the new counters arrived. I didn’t realize how fun shopping for countertops would be! This was last May.
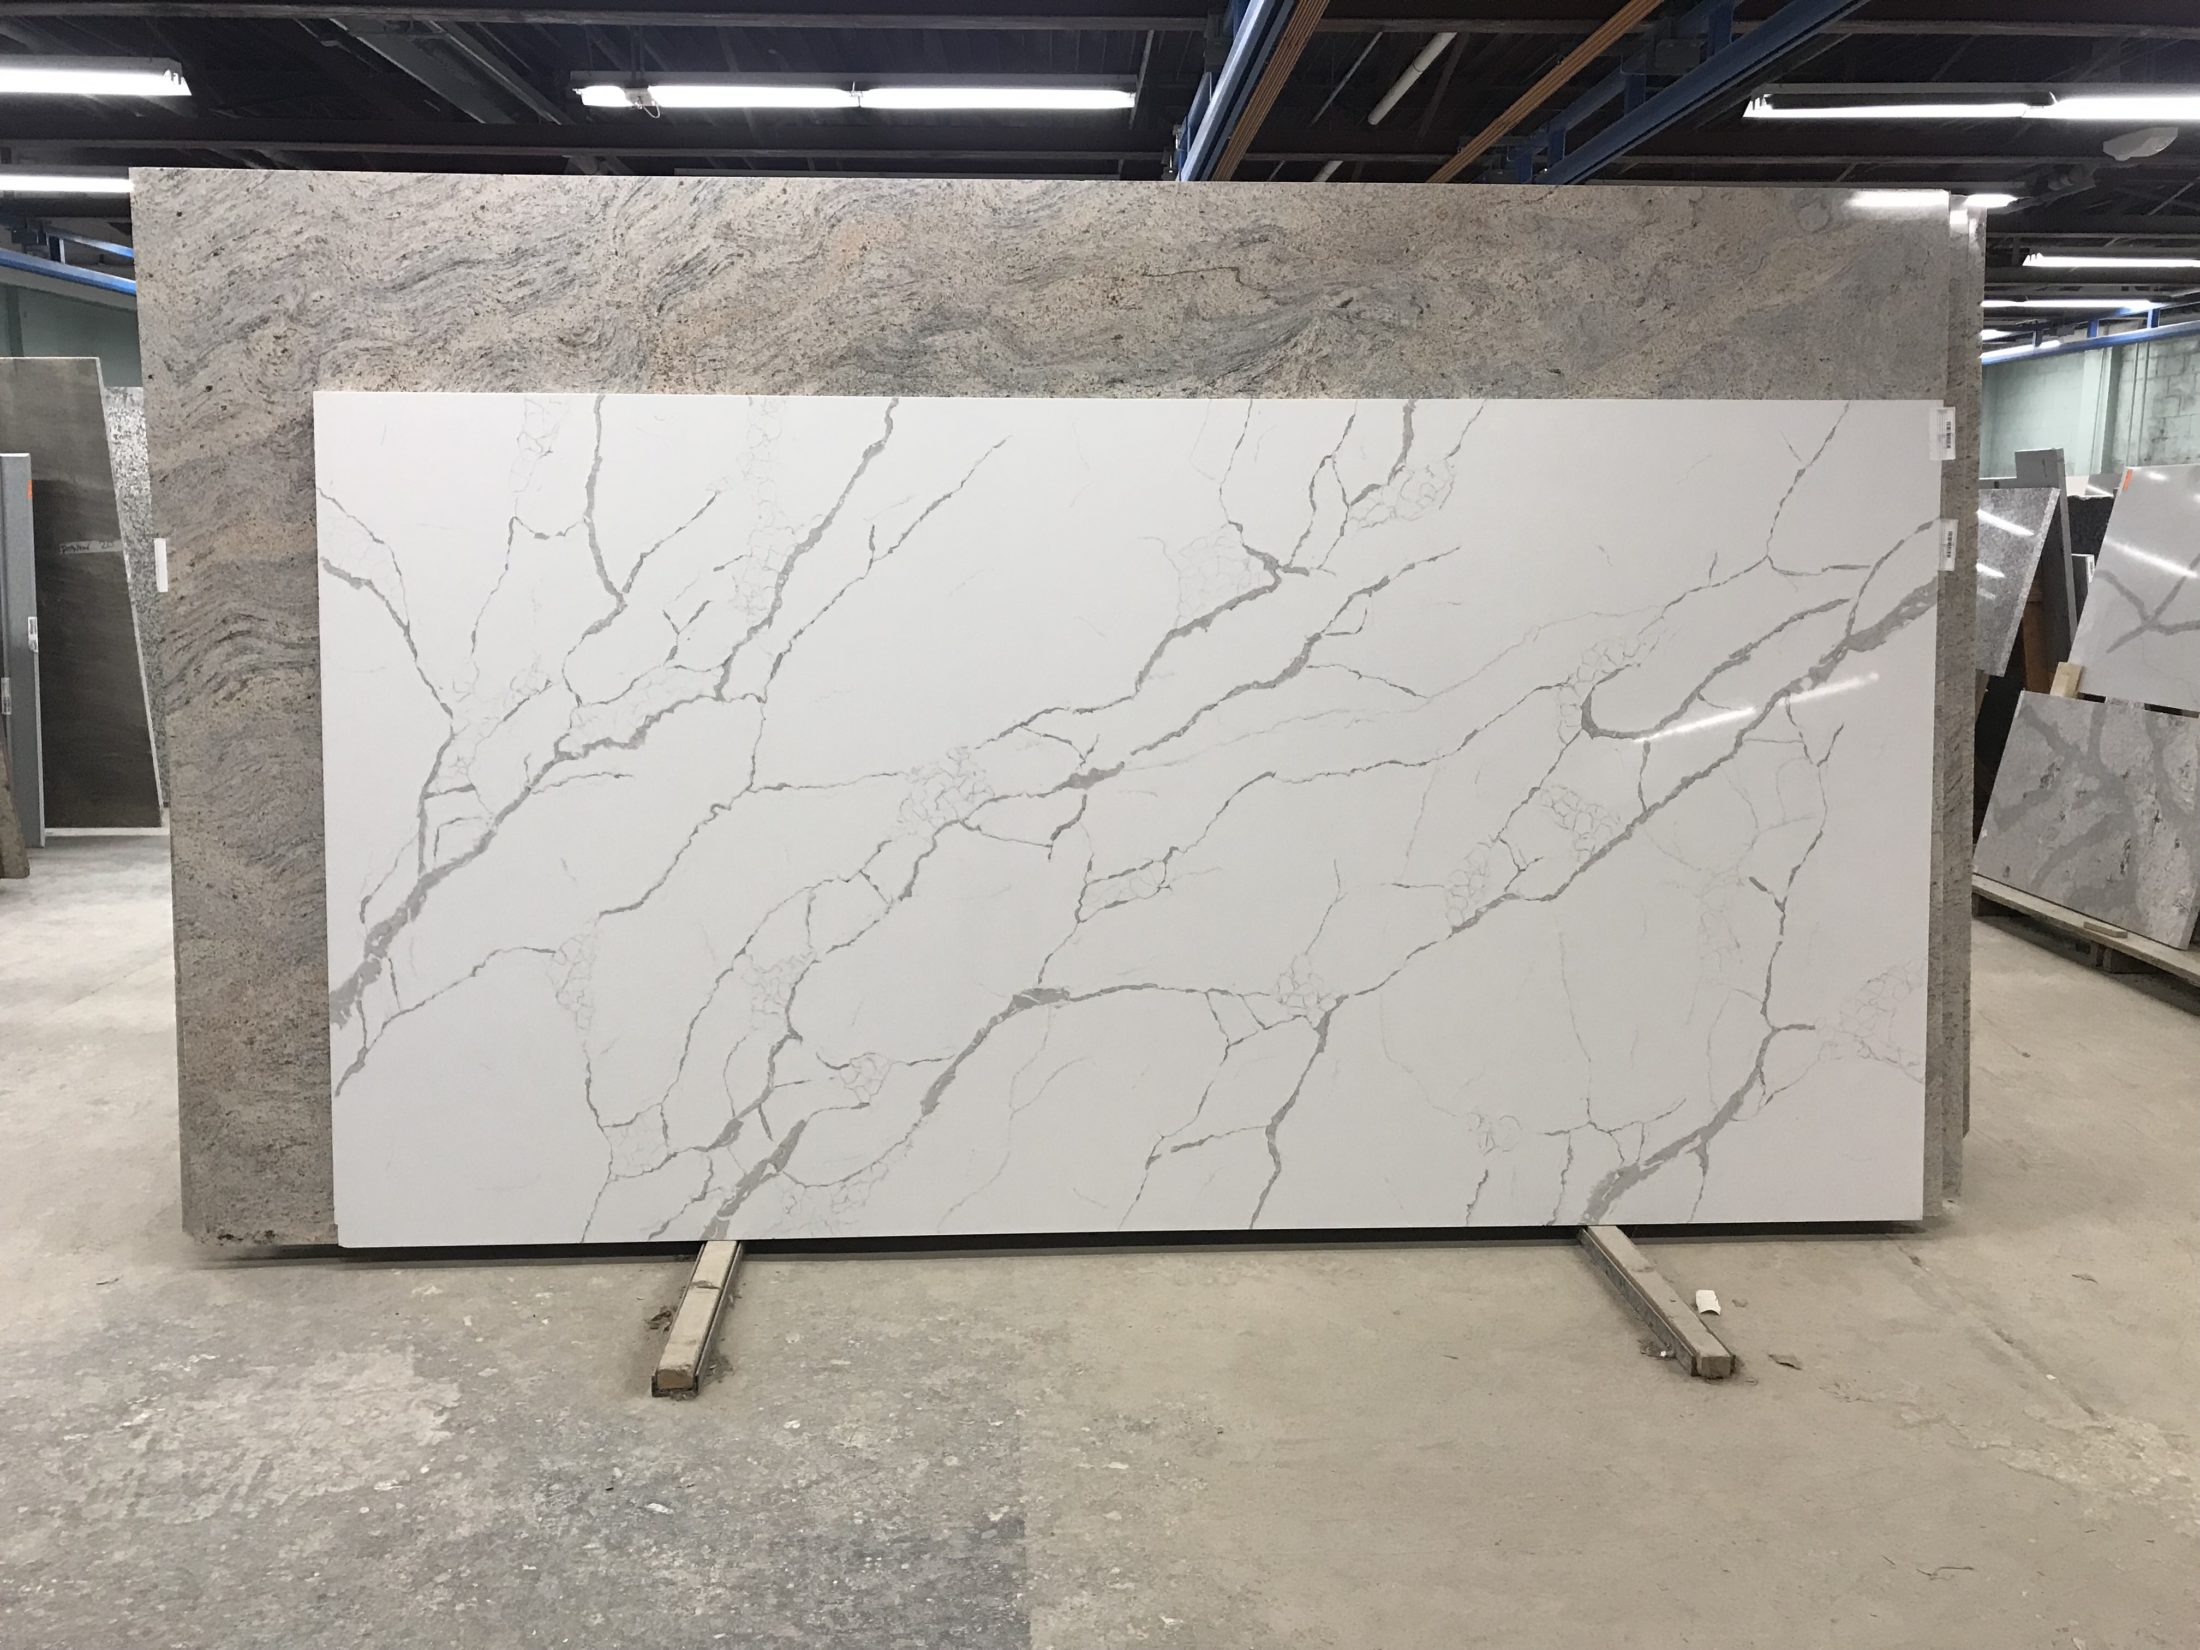


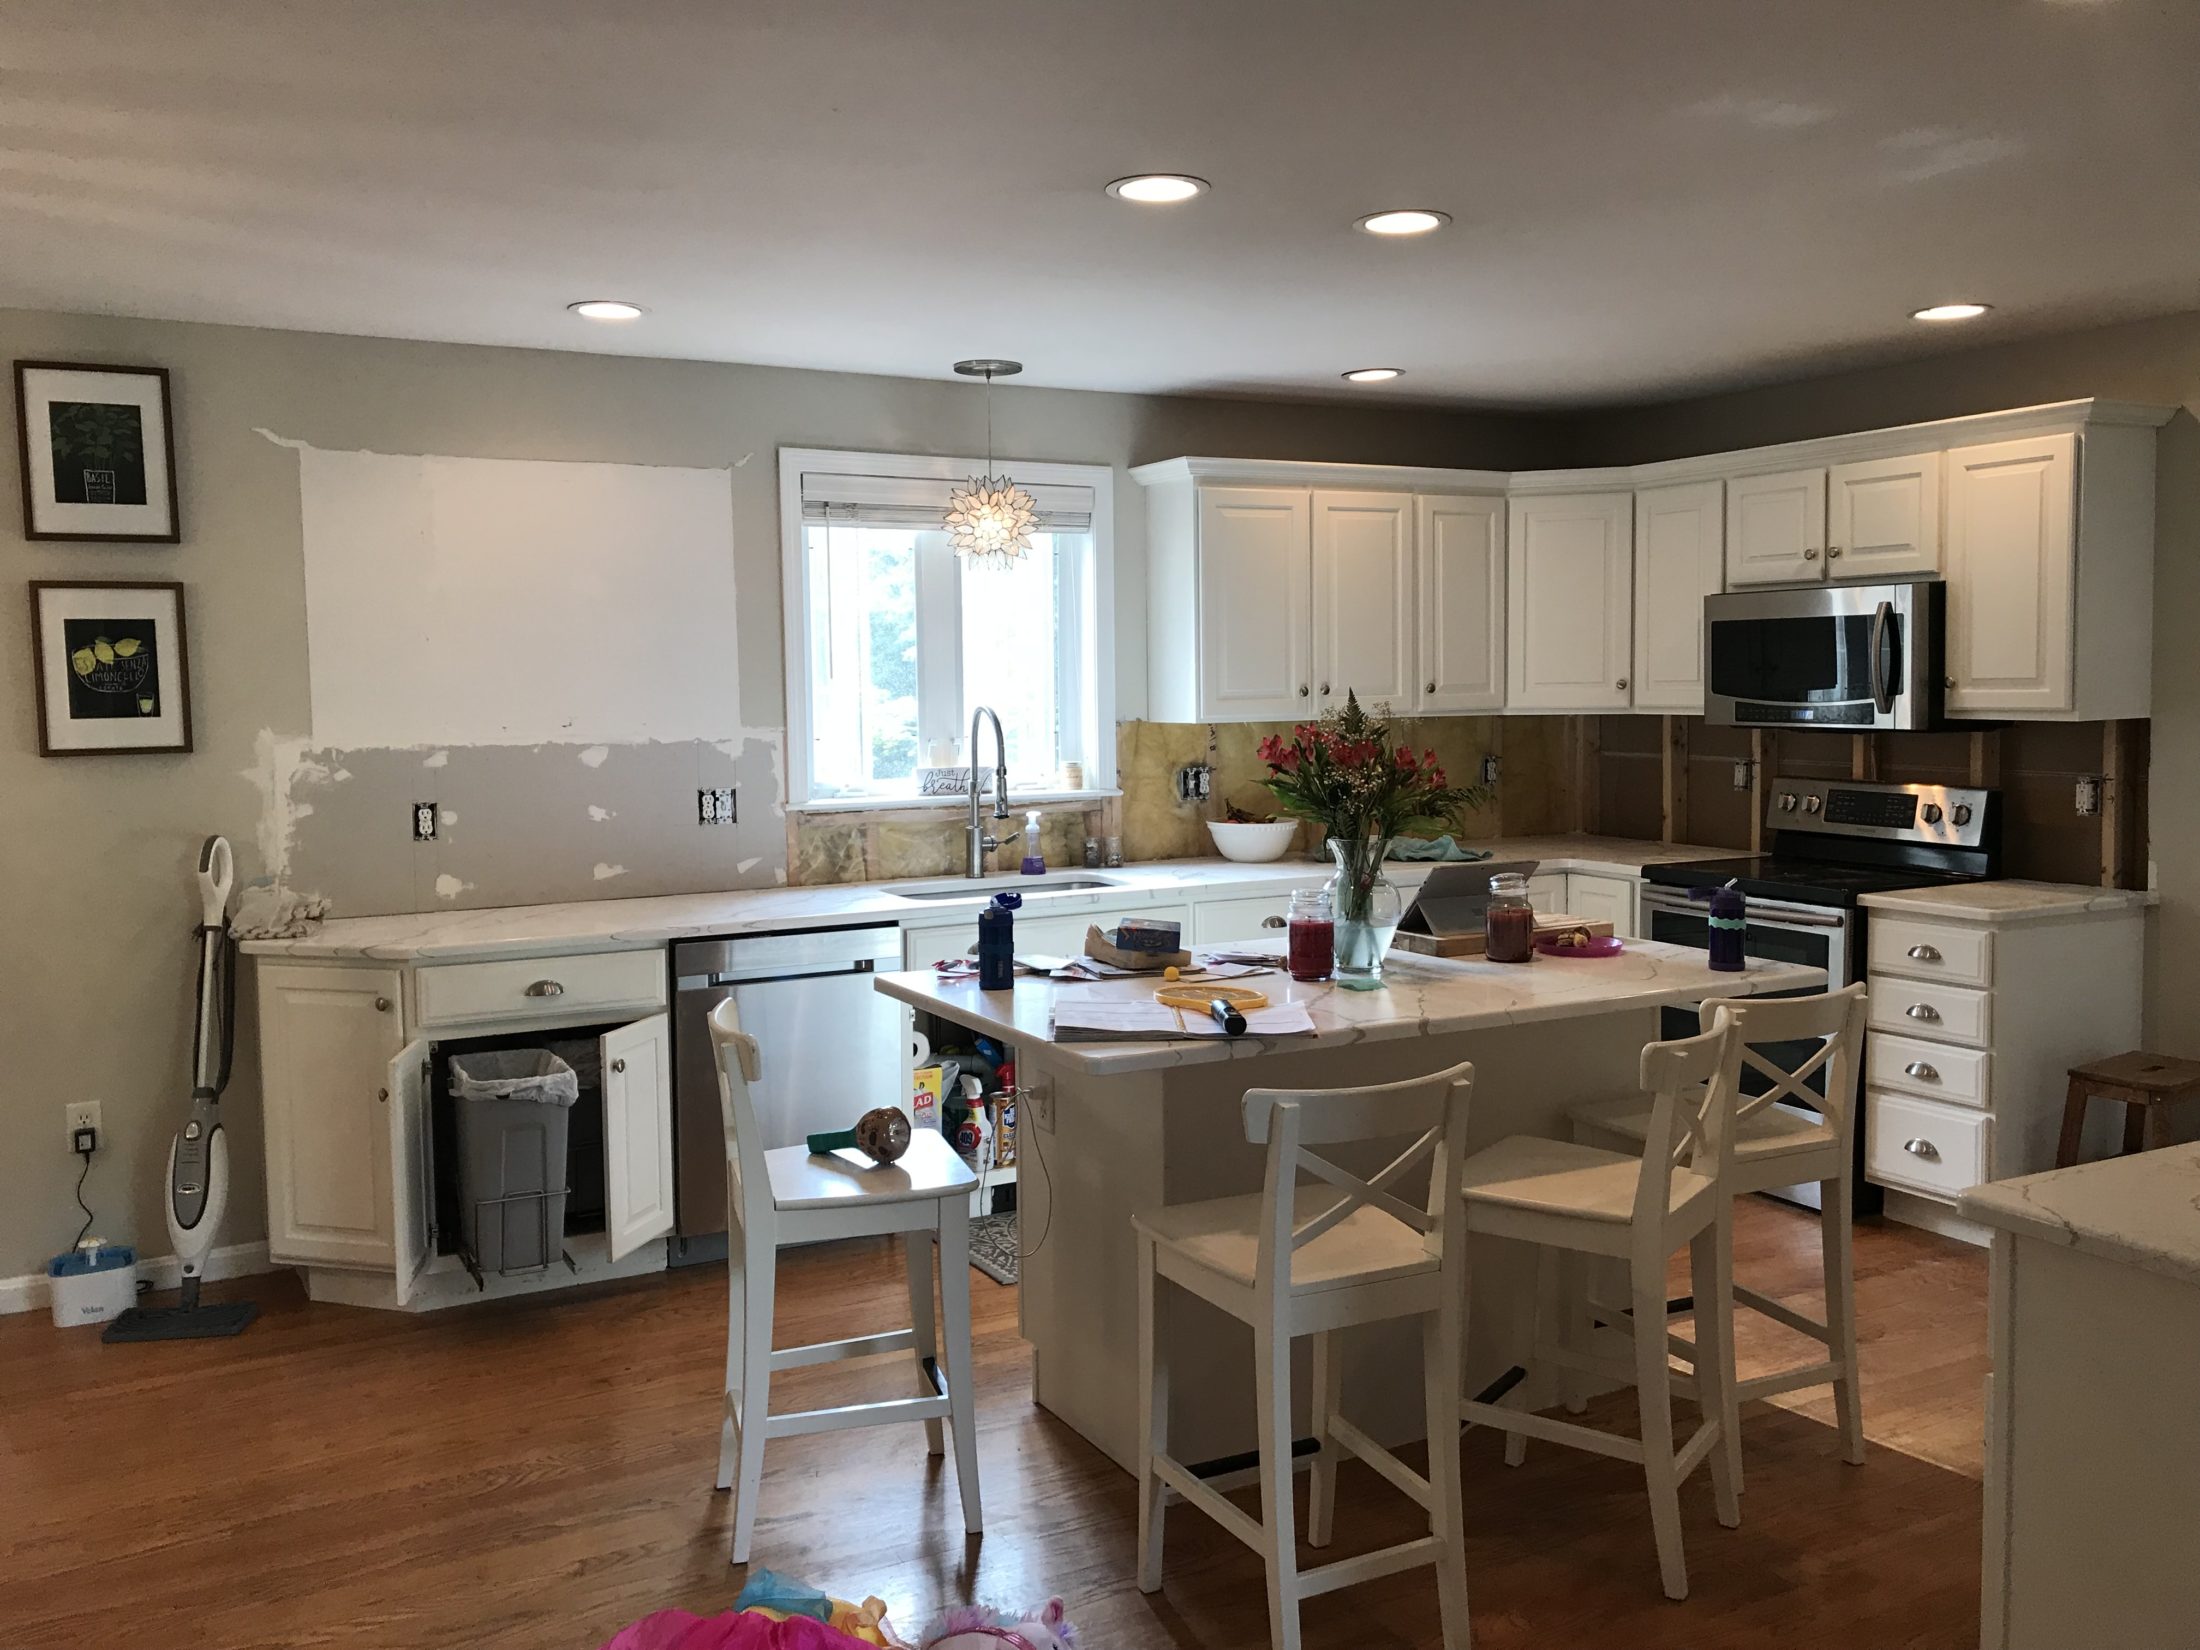
The new counters were everything!! Huge progress.
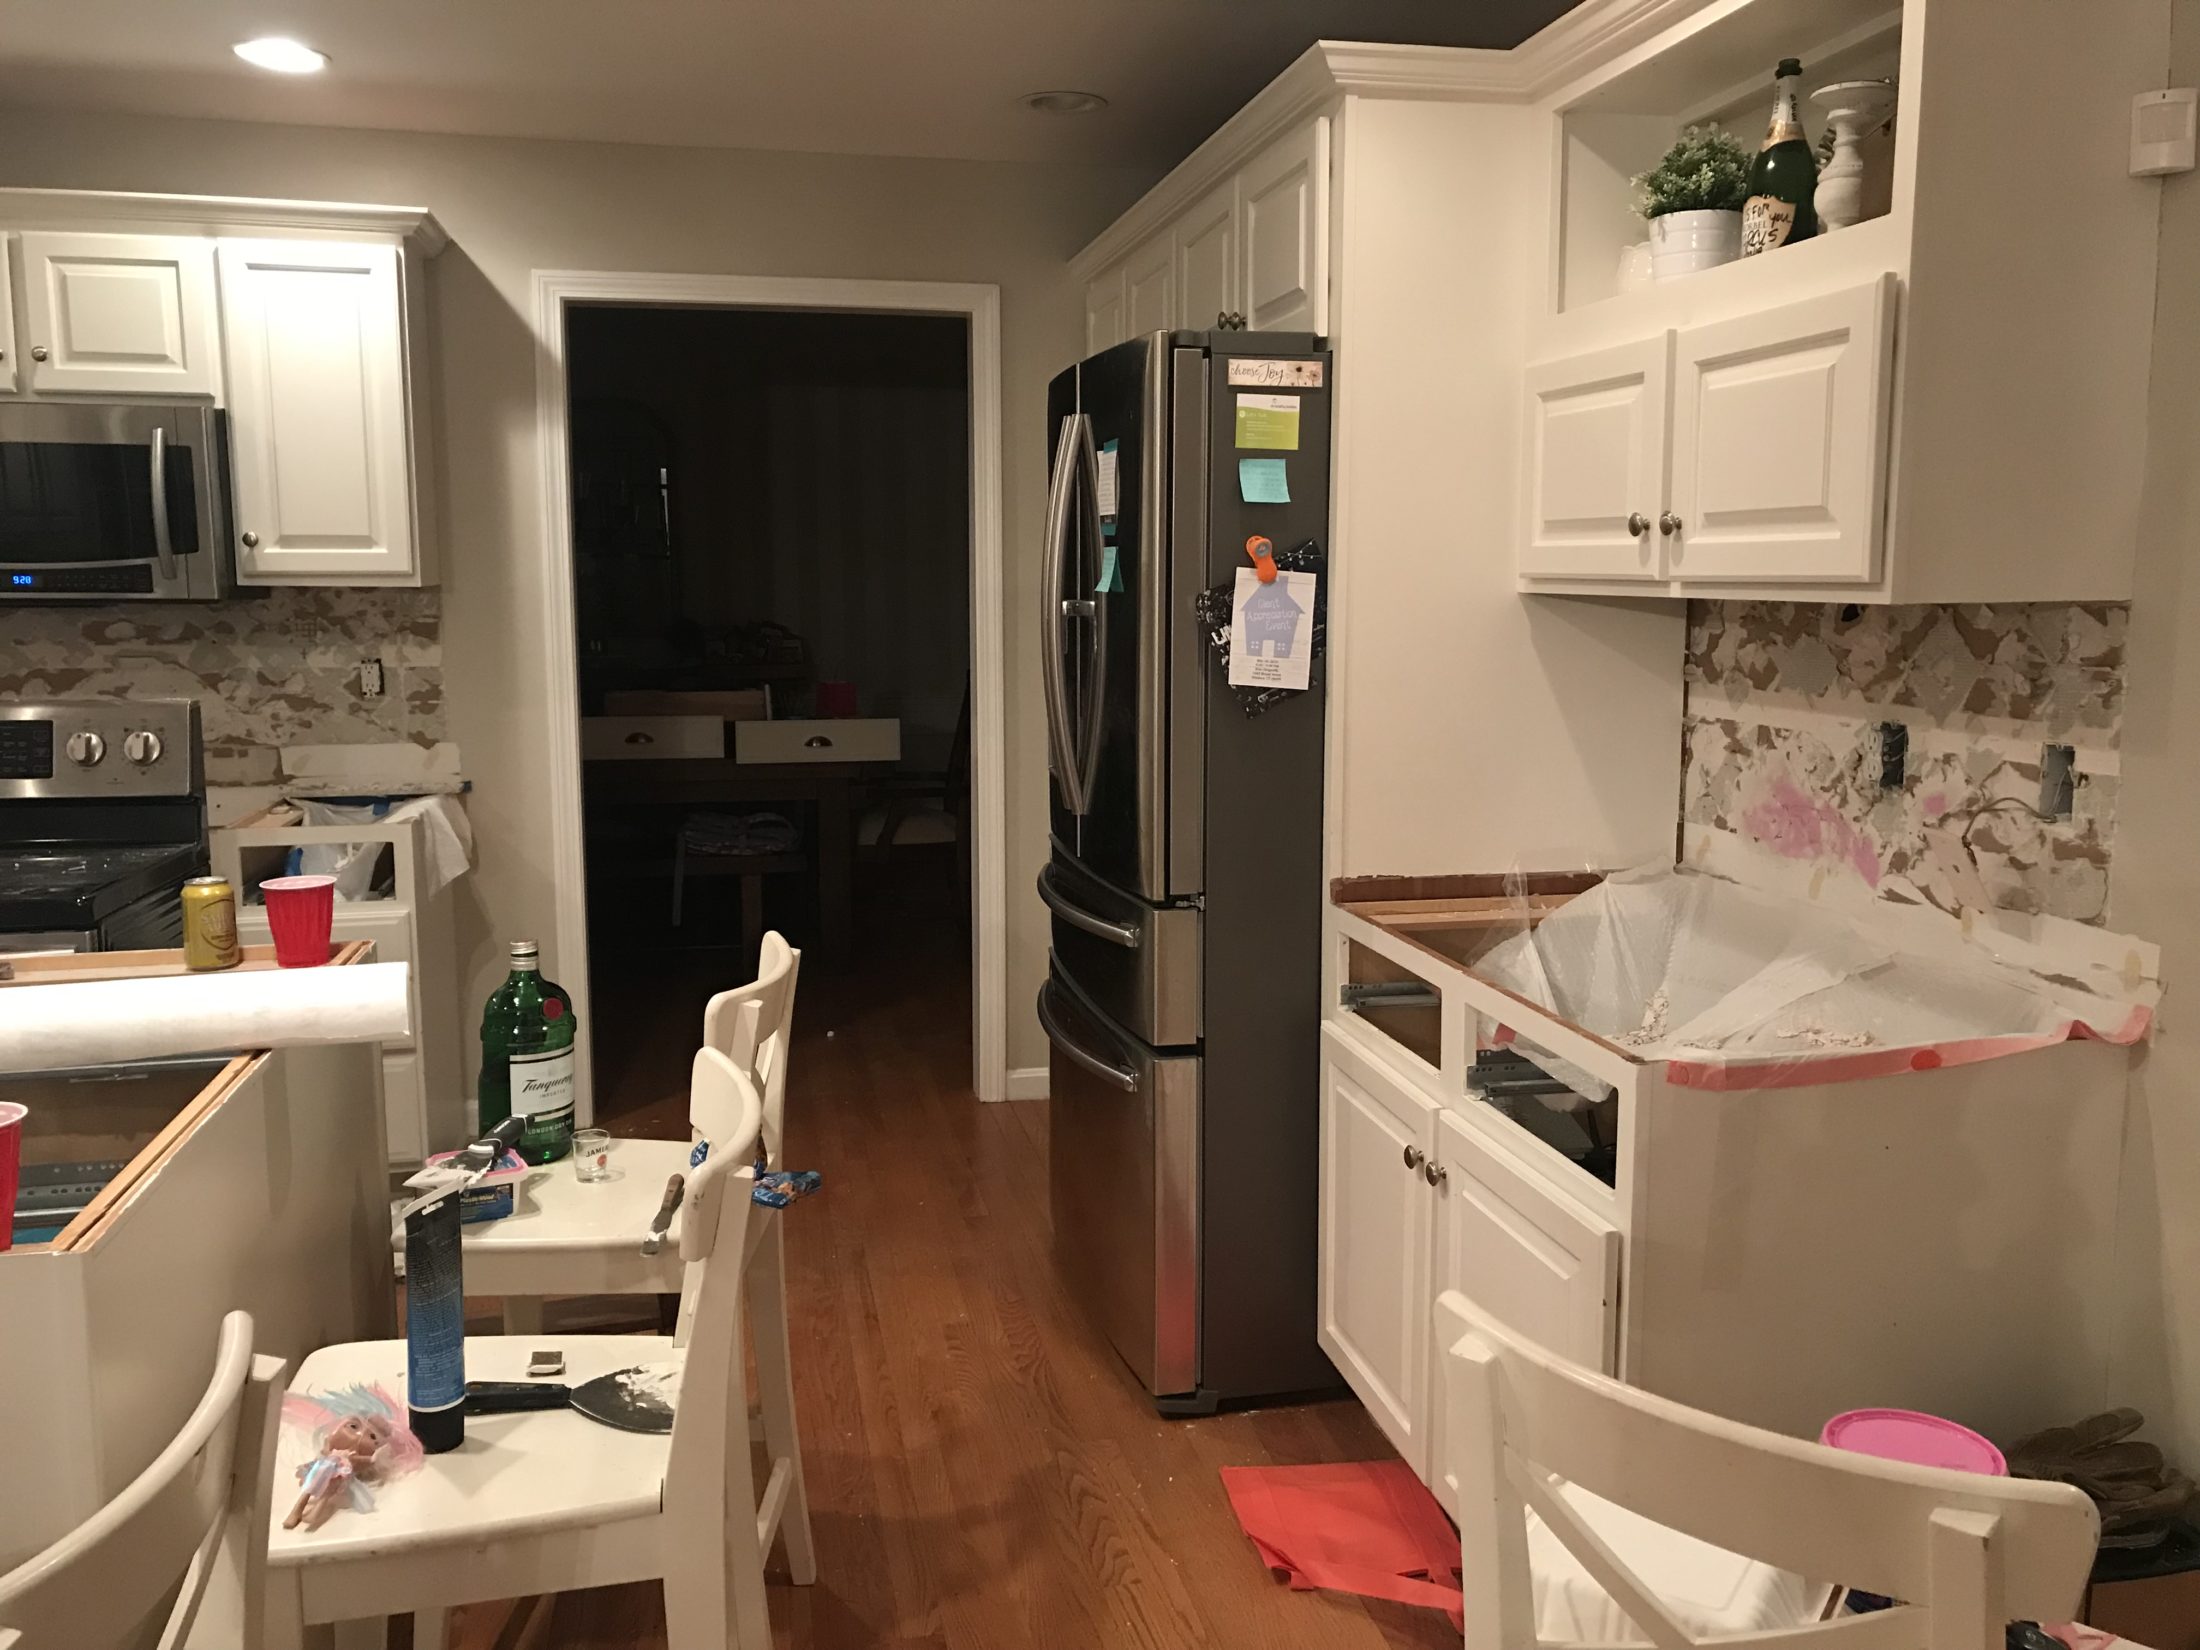
Next, my brother and his buddies came in and took down a few cabinets. It helped open up the space and make it feel less heavy!
And that is how the kitchen stayed. For a very long time. #firstworldproblems

A few months later, my man crew came back and tore off the remaining “backsplash” and put up new sheetrock. So much better already!
You can already see a huge difference in the weight of the kitchen with that cabinet down!
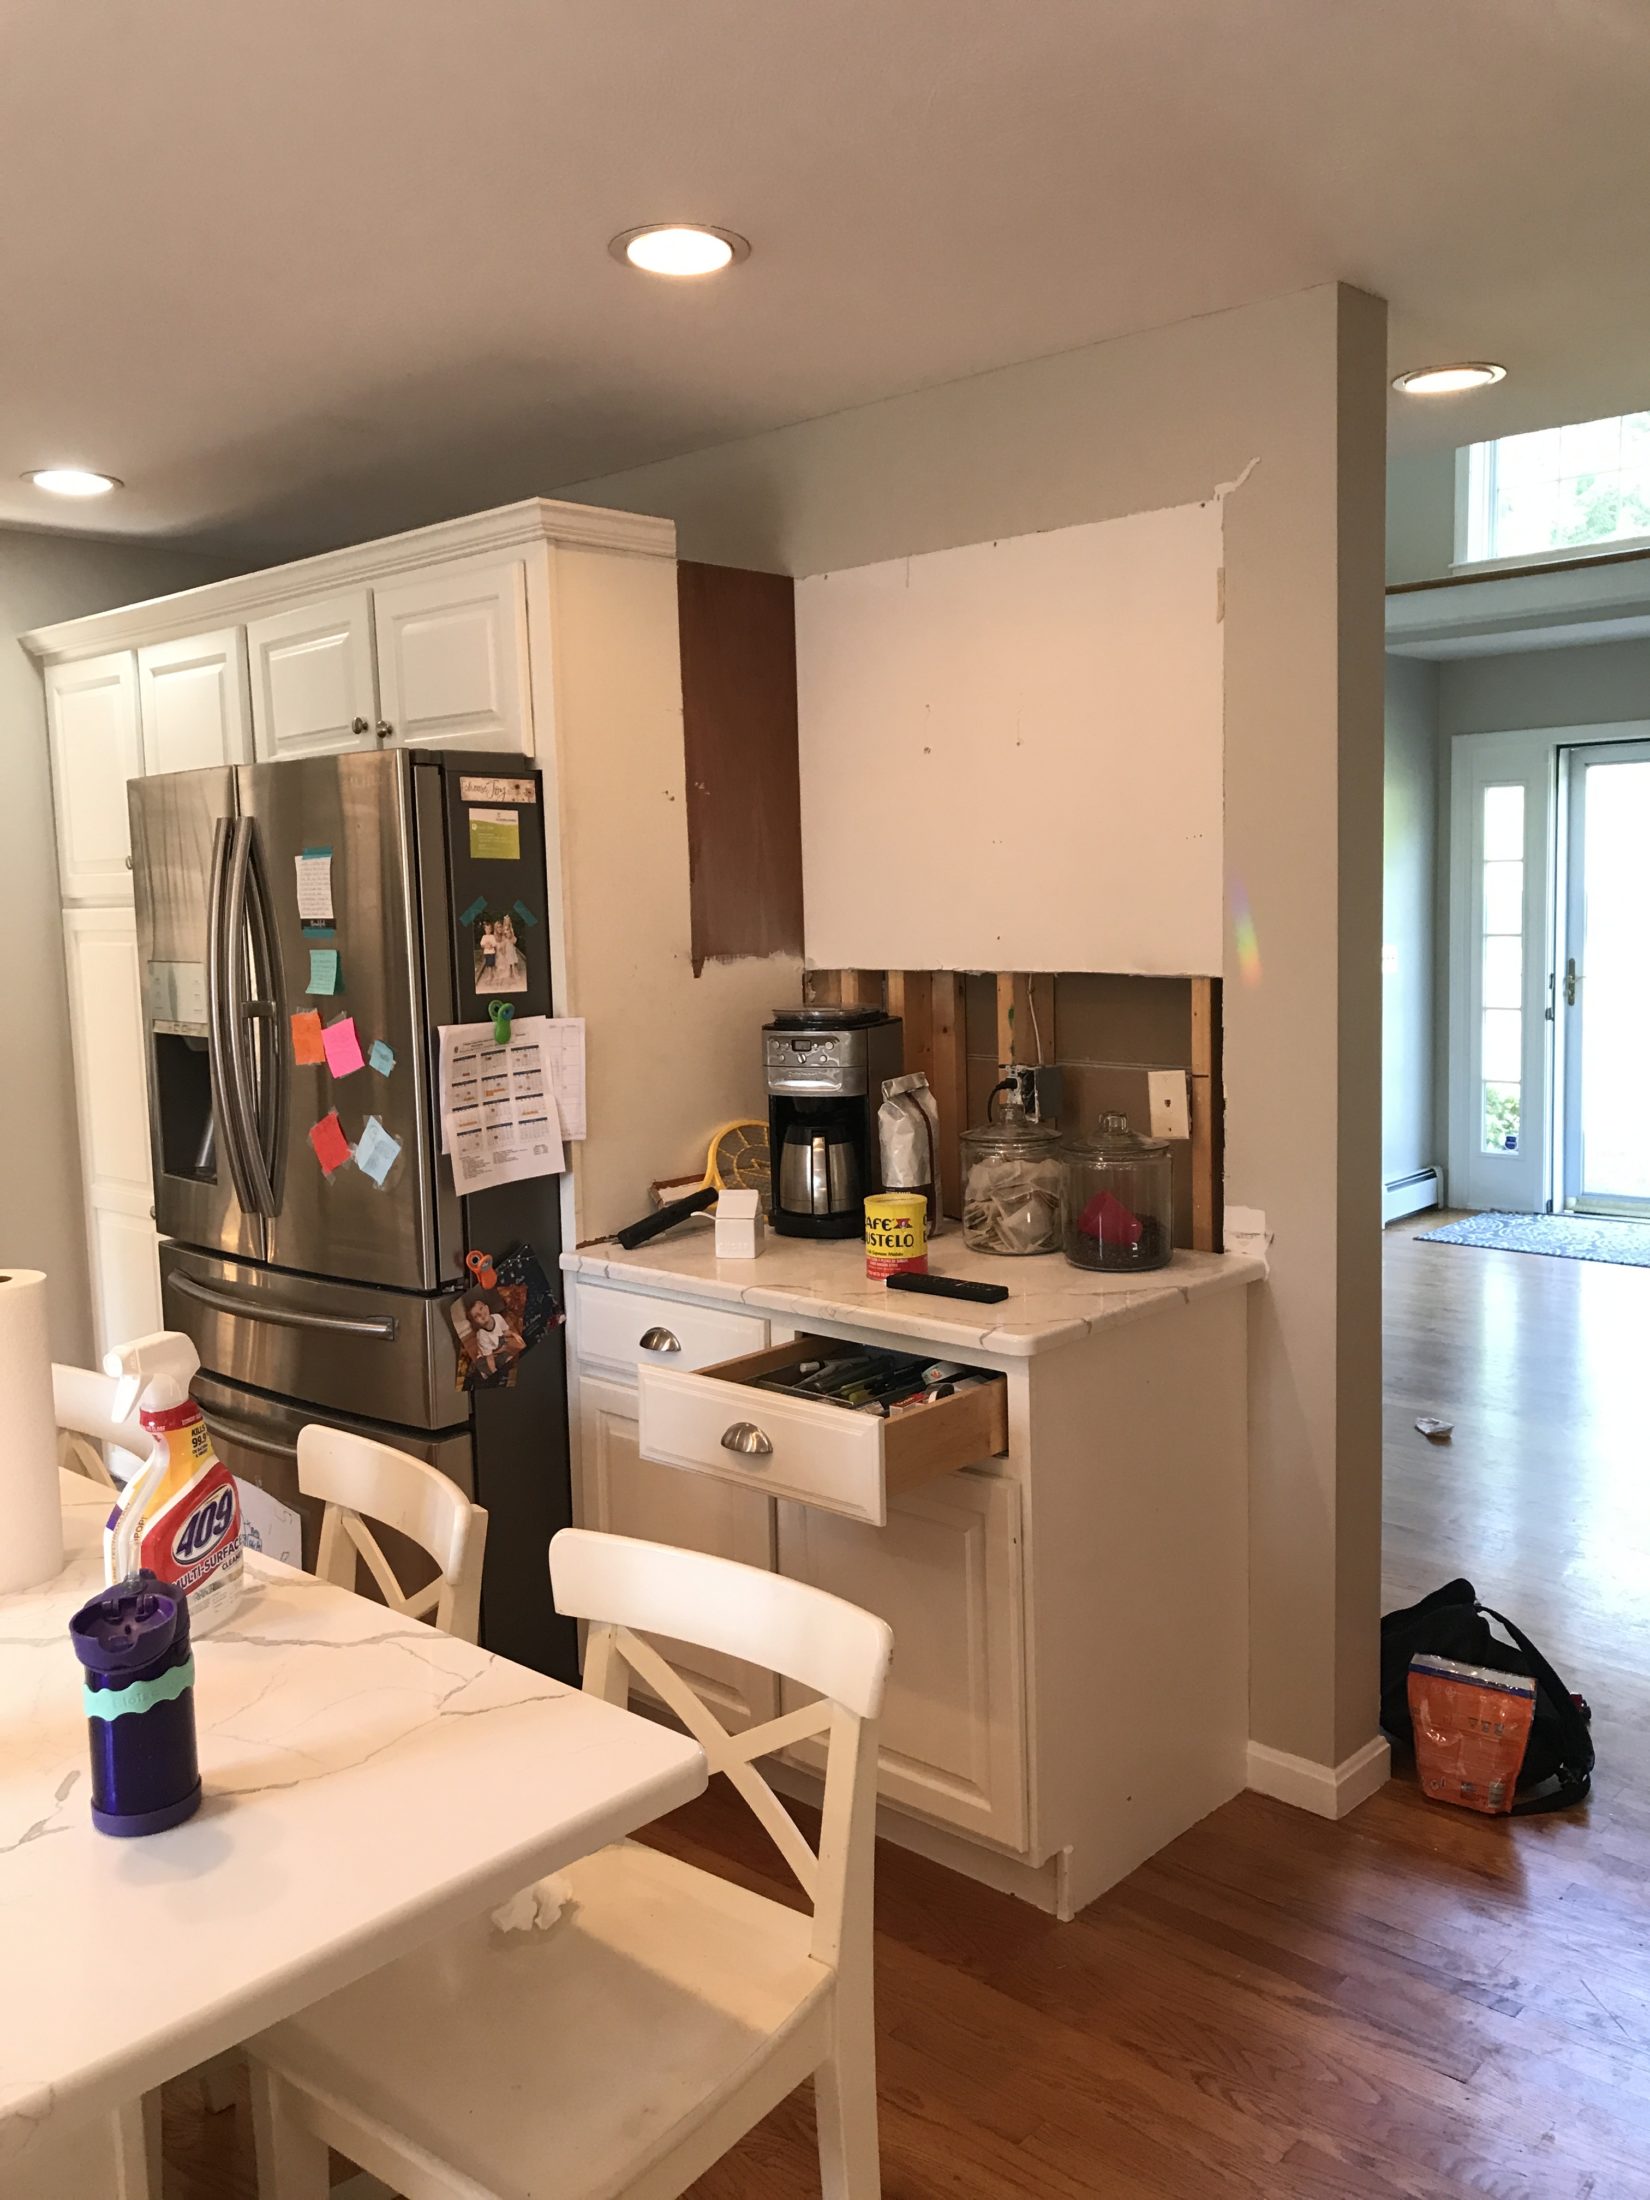
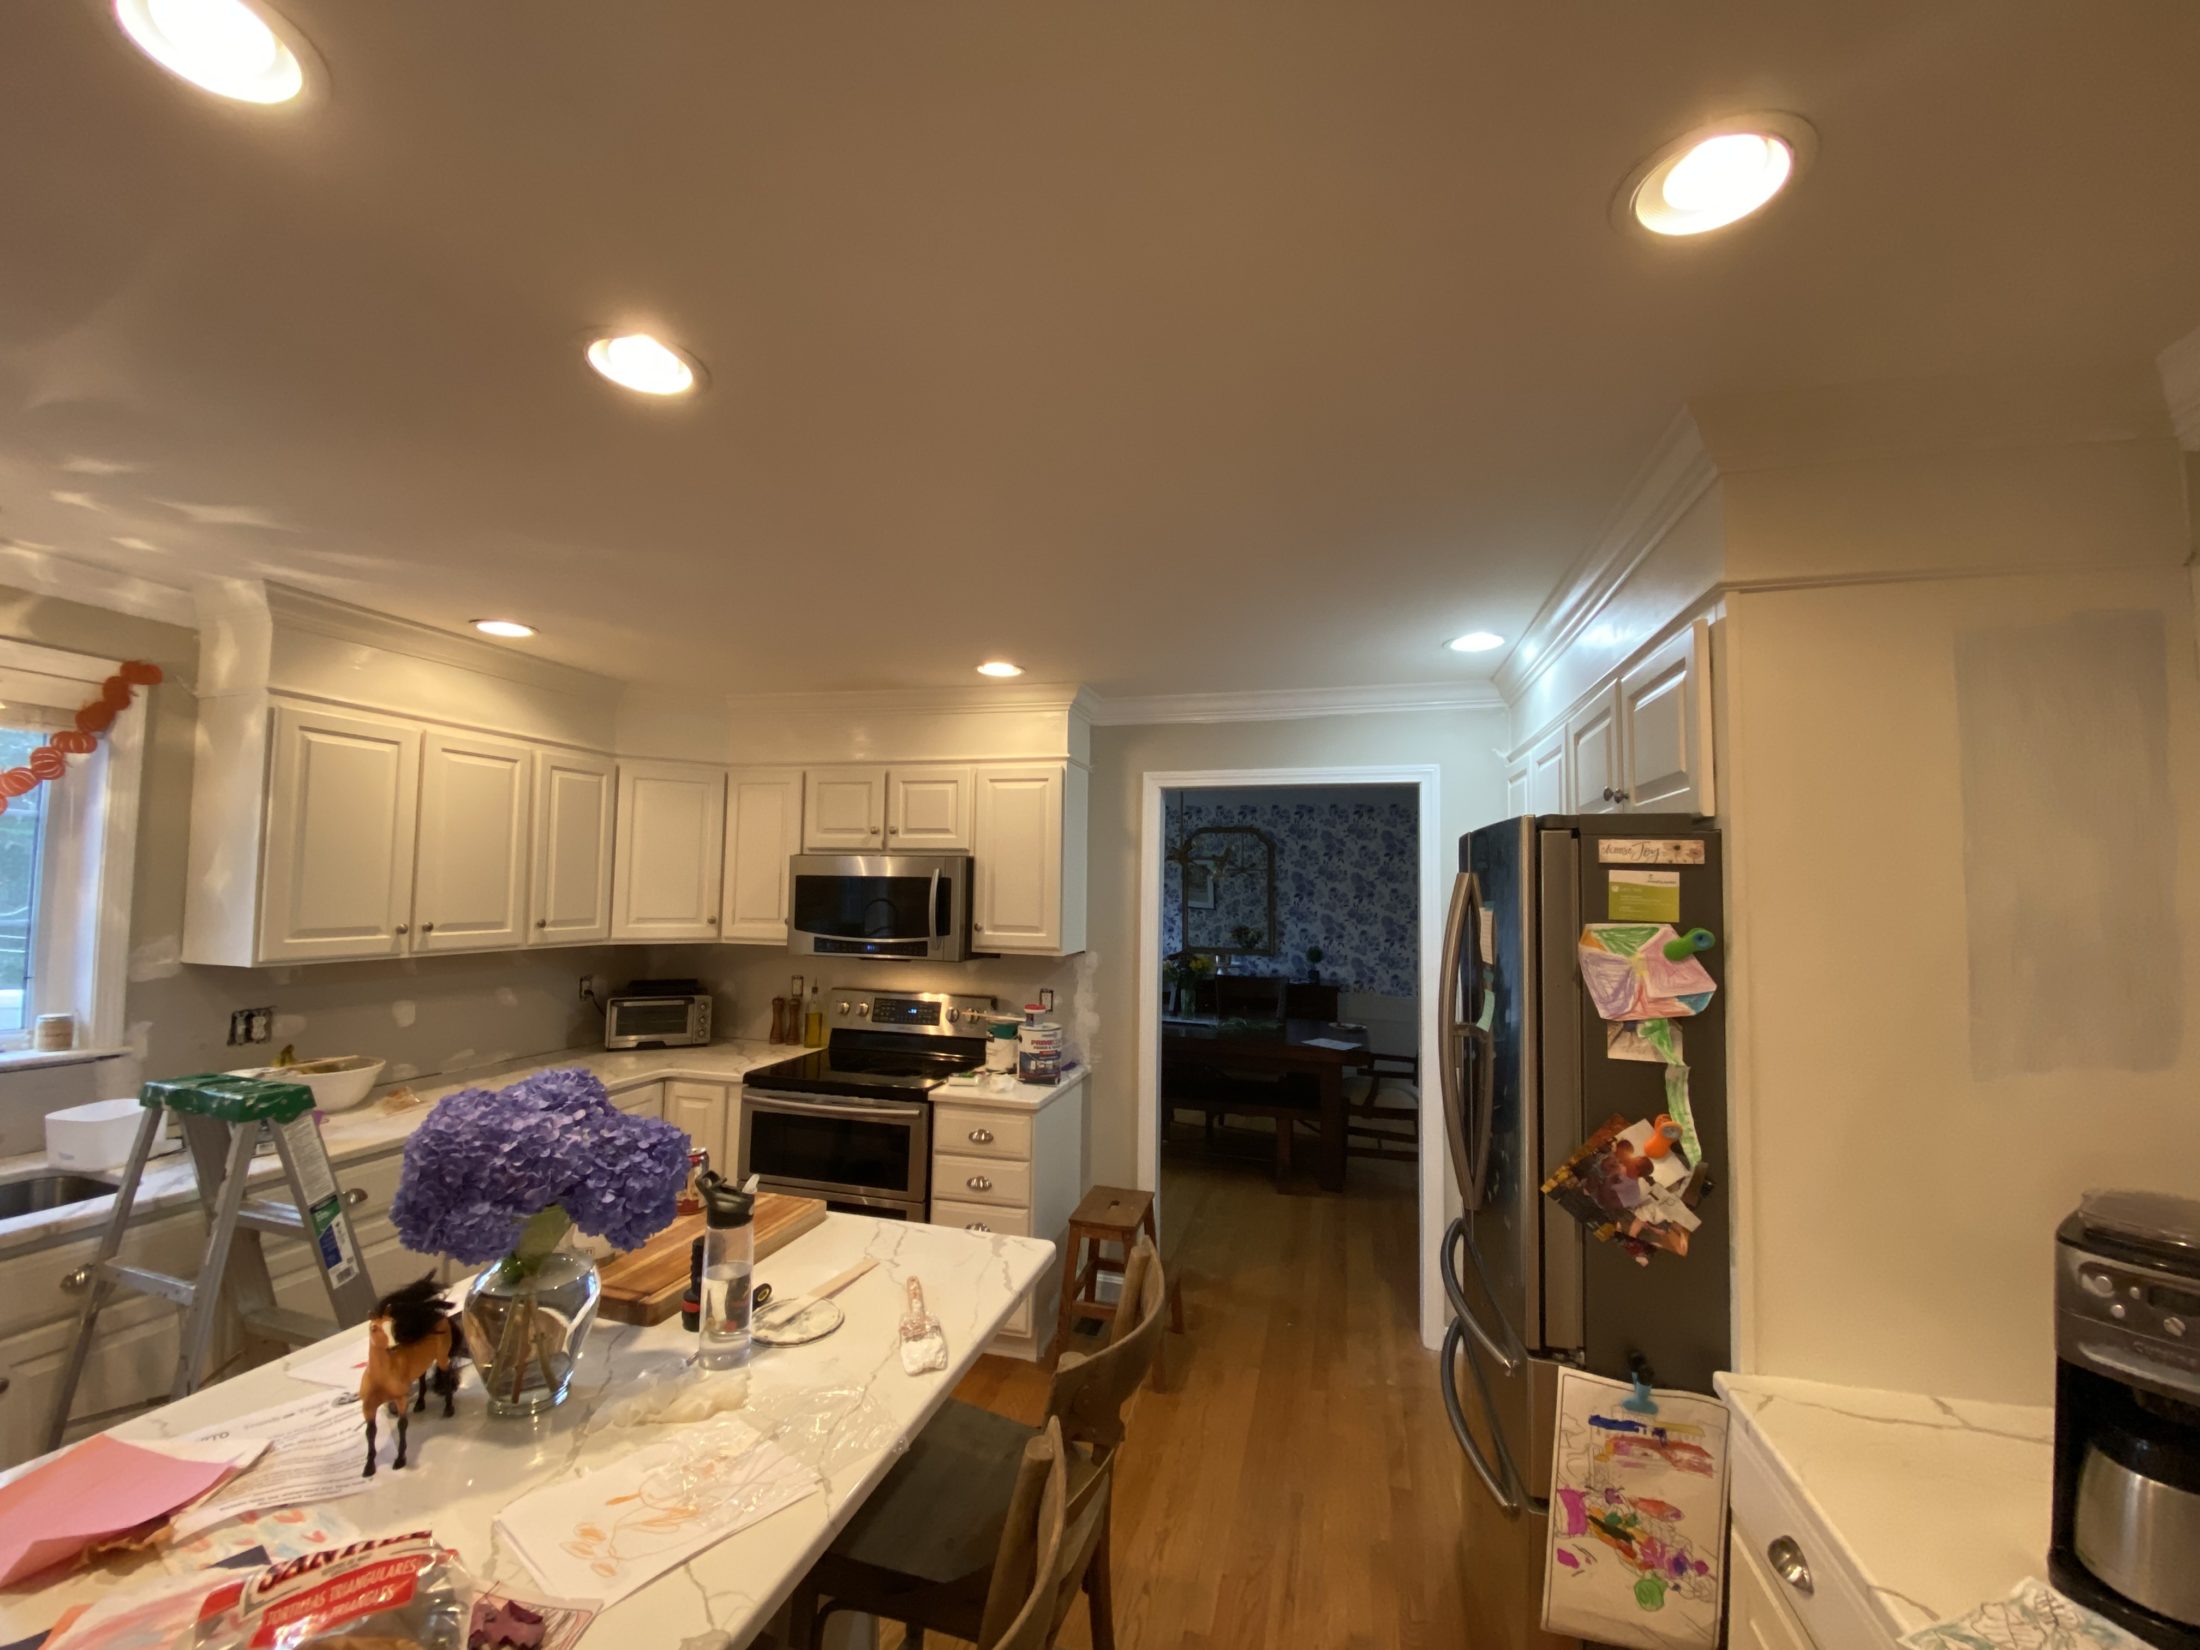
Next, my super handy uncle (the one who did my closet!) came in and finished the cabinets to the ceiling. The six inch gap from the cabinets to the ceiling was honestly just awkward and made the kitchen feel squat. Raising the cabinets up to the ceiling made the ceiling feel higher and the kitchen feel more finished.

Here he has it all trimmed out, no paint yet.


You can see the old paint where we took down that cabinet to the right of the fridge! And can you spy the new dining room wallpaper… Never one project at a time!
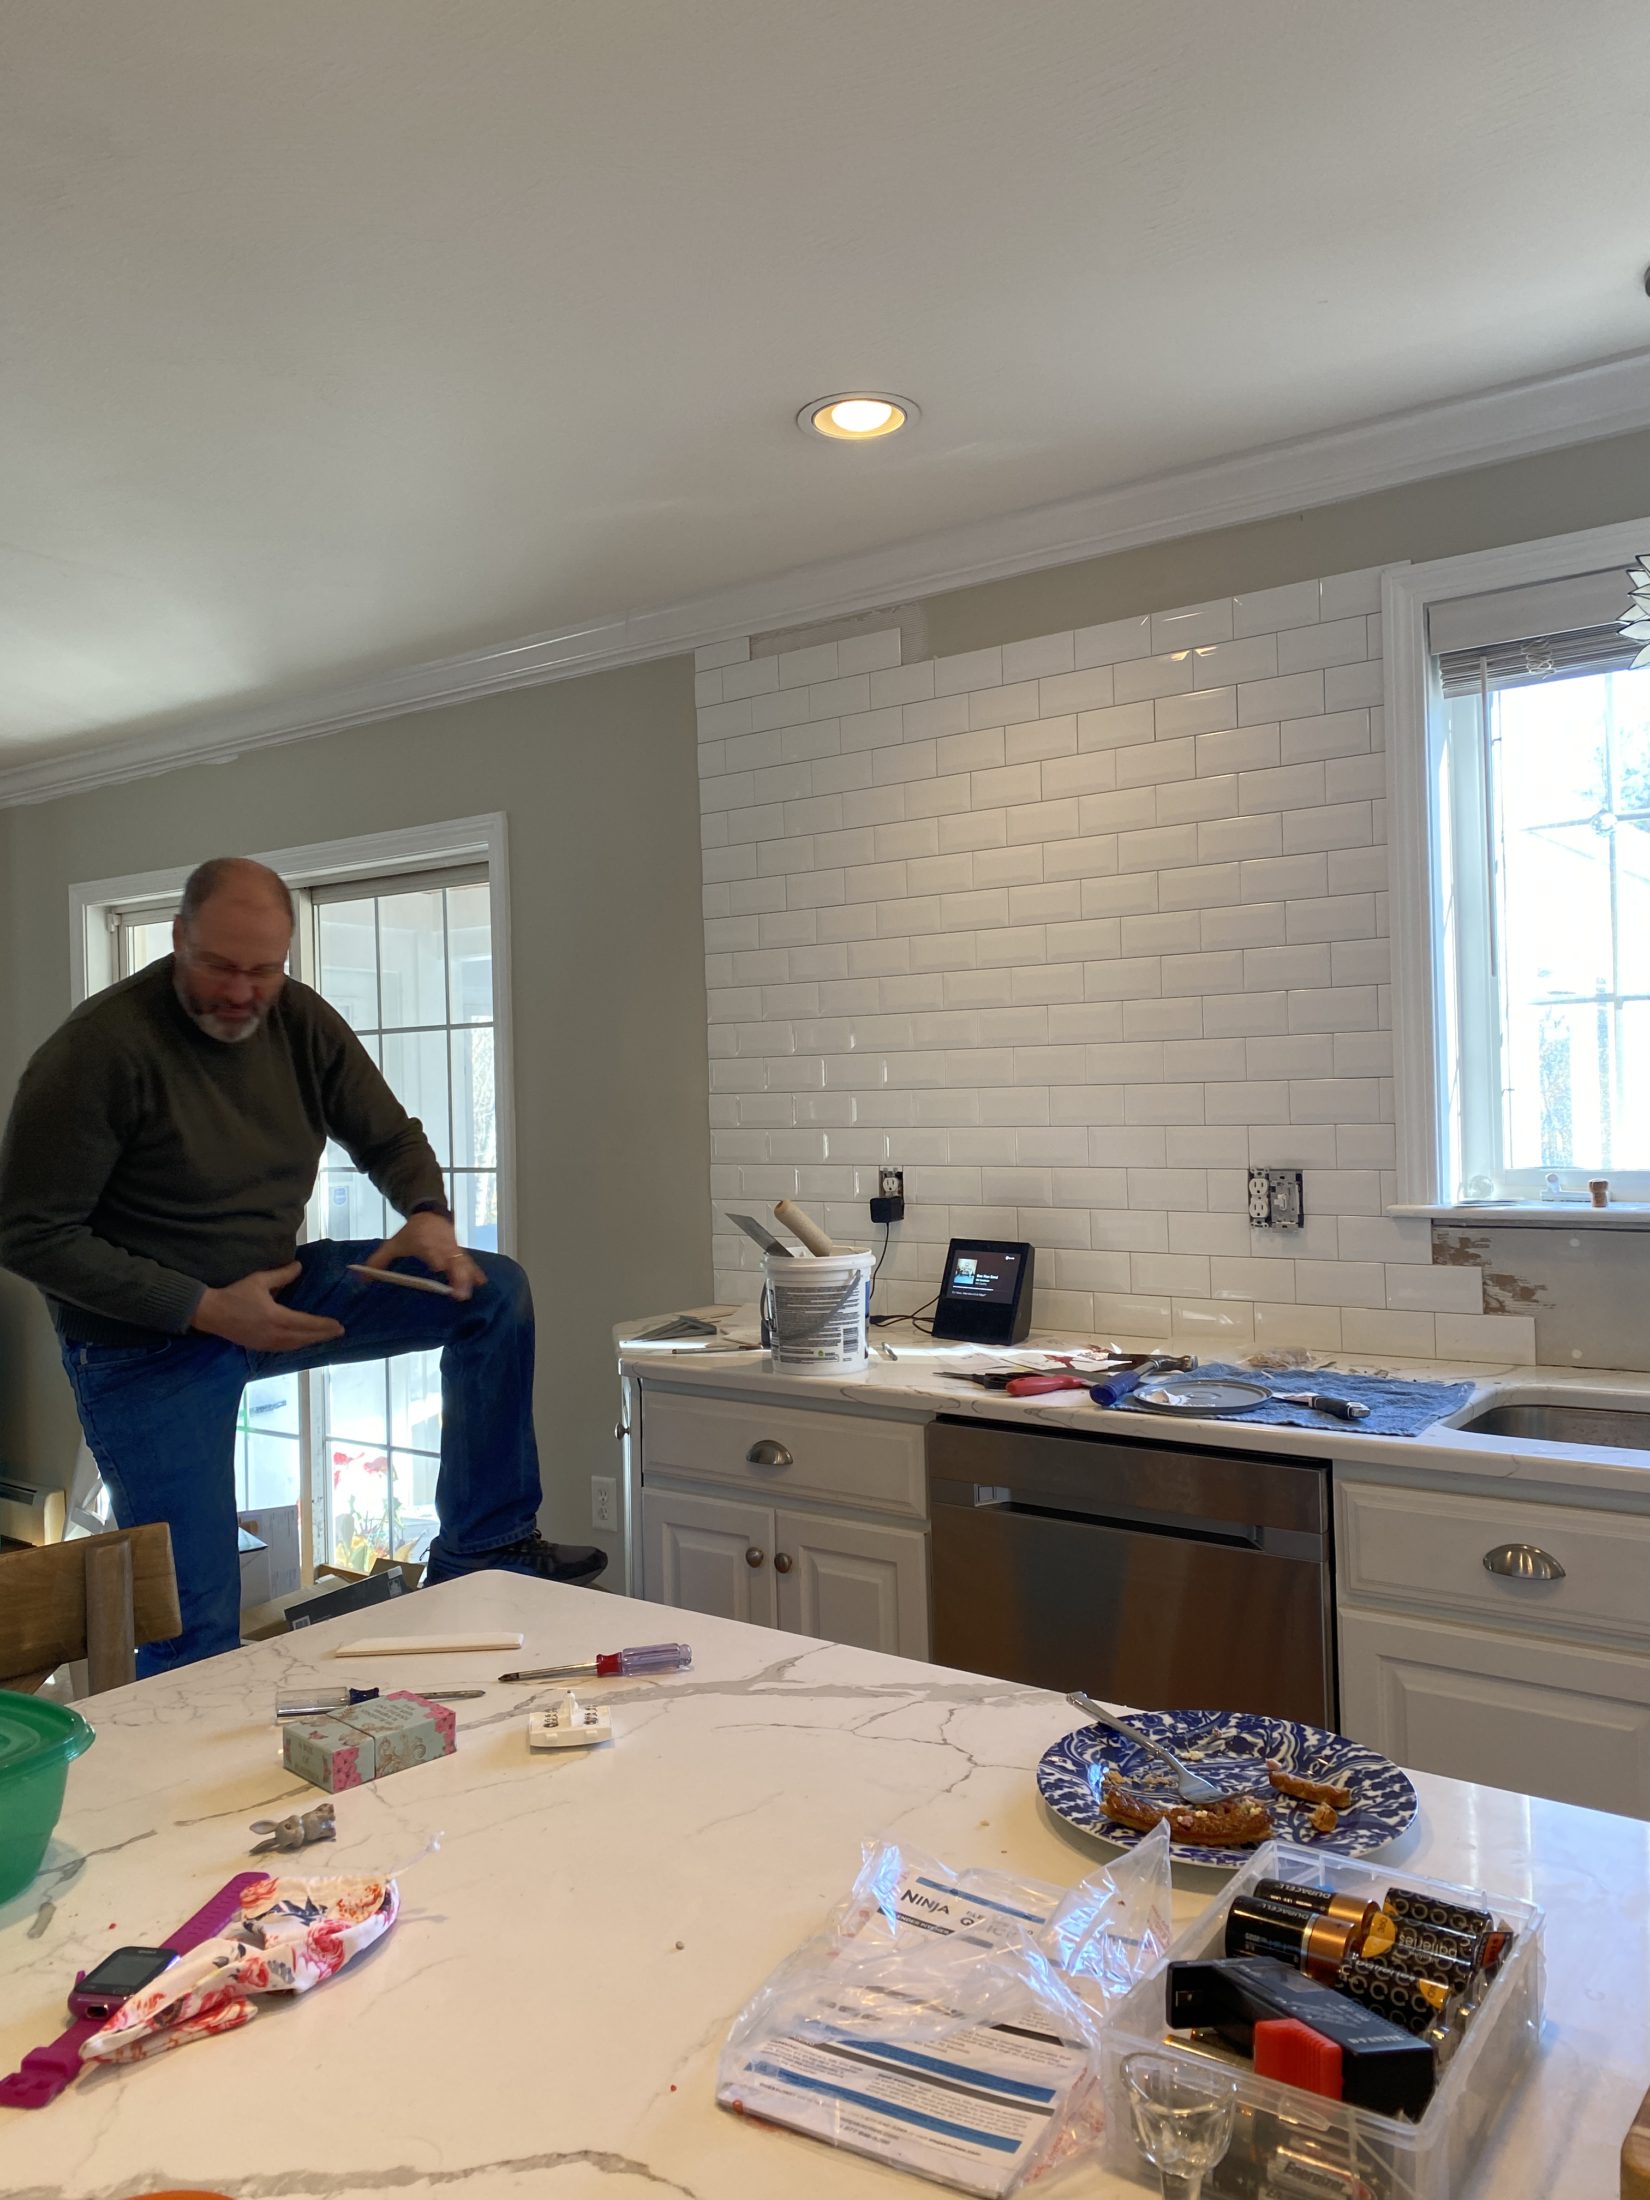
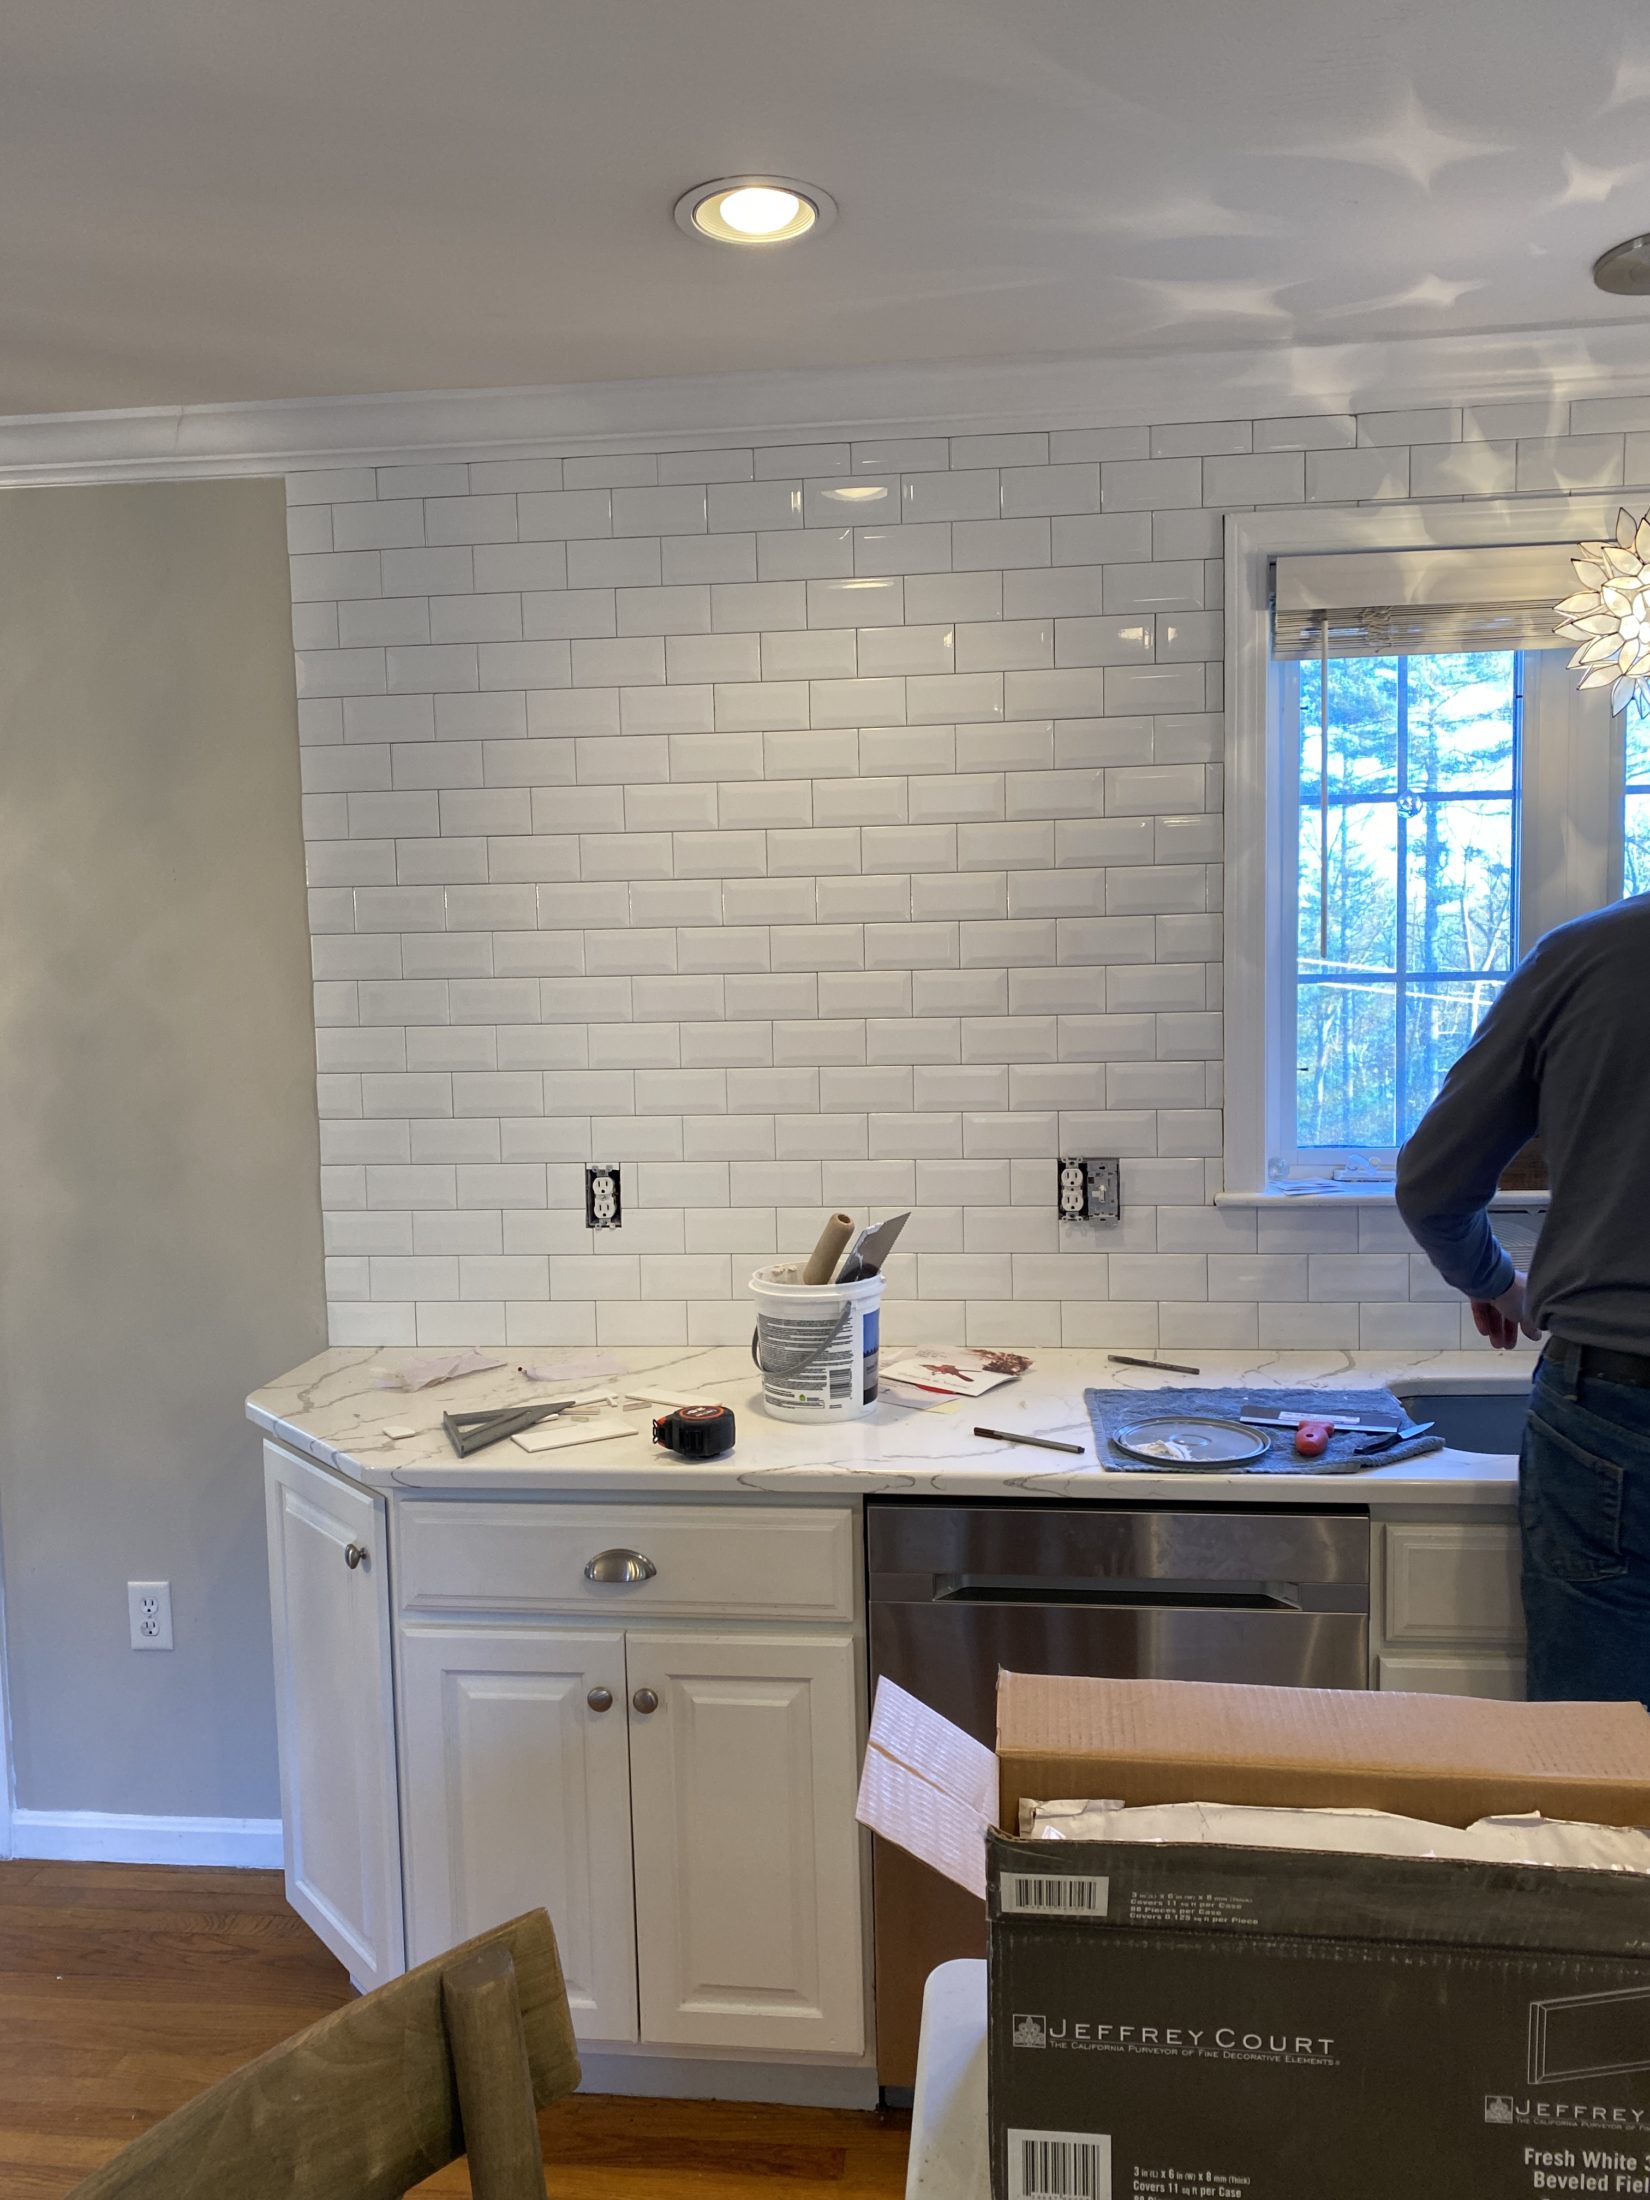
And that is how it stayed until this spring! This kitchen wins the award for most sporadic renovation timeline. My dad stepped in to help me get started on the backsplash. I am game for learning a new skill, but my dad recommended not displaying my first try in the most prominent room in the house. So I accepted his help and he got to work!
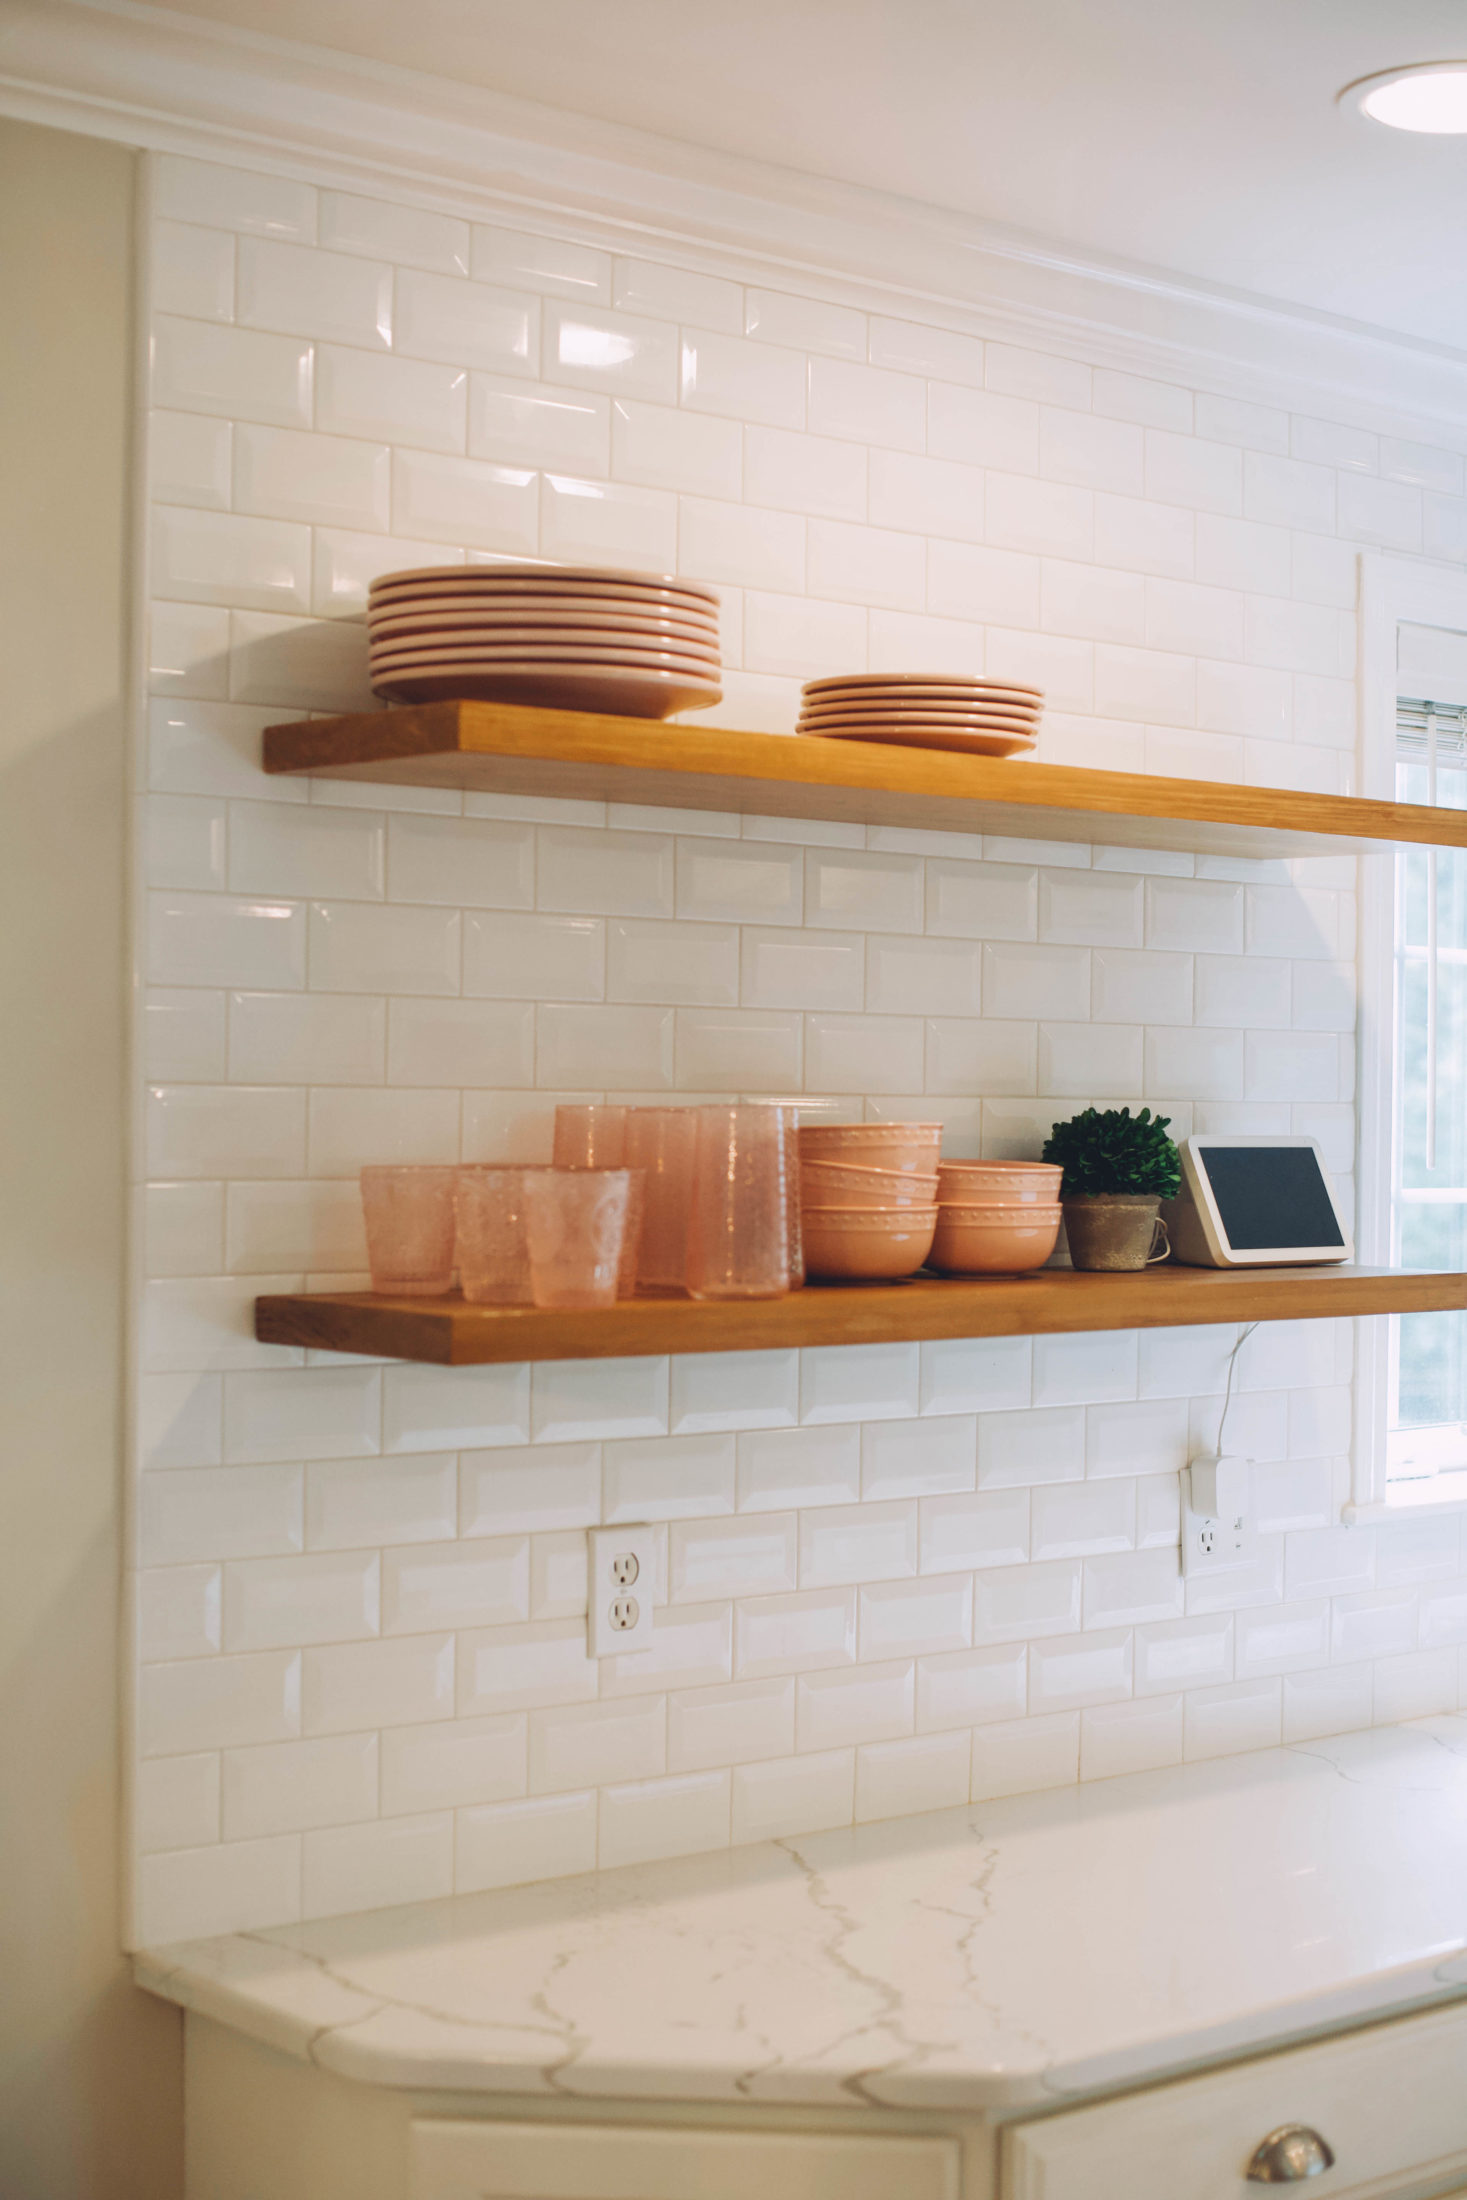
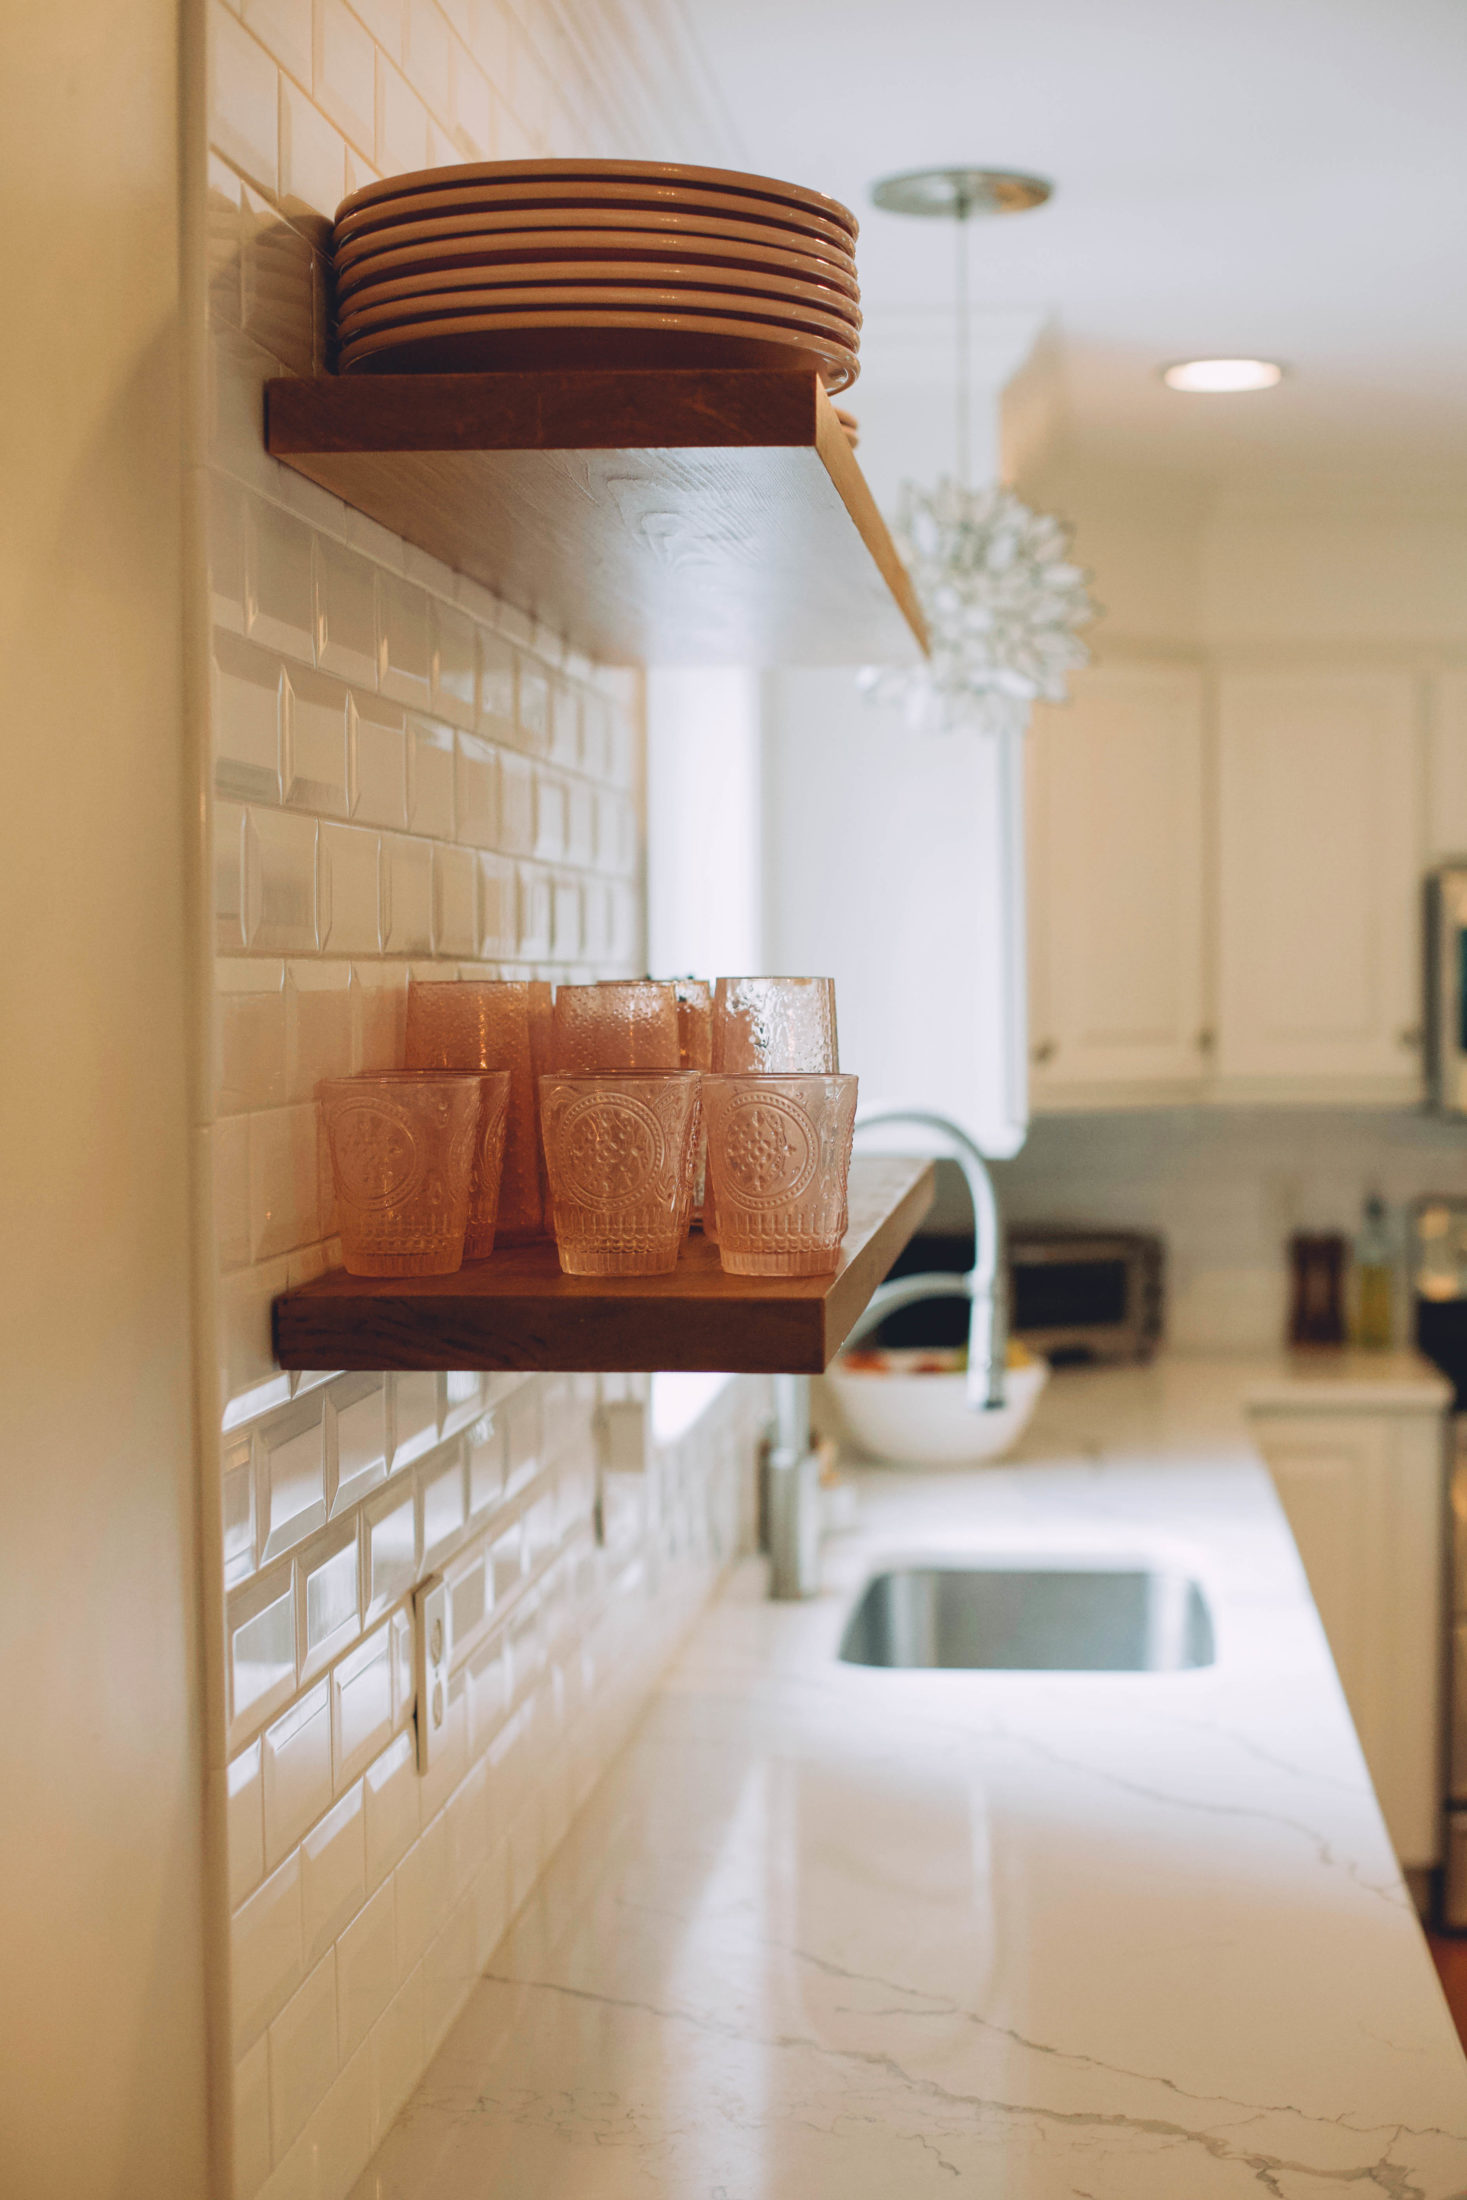
I chose simple beveled subway tile with pure white grout. I wanted light and bright, and would bring in some warm wood texture through the open shelves and barstools.
Alllllll the heart eyes!

He finished installing that (with the help of my friends as well) and I finished with the grouting.
So that brings us up to this past winter! My uncle came back in to install new open shelves to replace the cabinet we had taken down. Just in time to sell. But it was so worth it! I am so thrilled to see my vision for an updated kitchen come to life, and see it improve so much with such a small budget.
Are you ready for the after?!
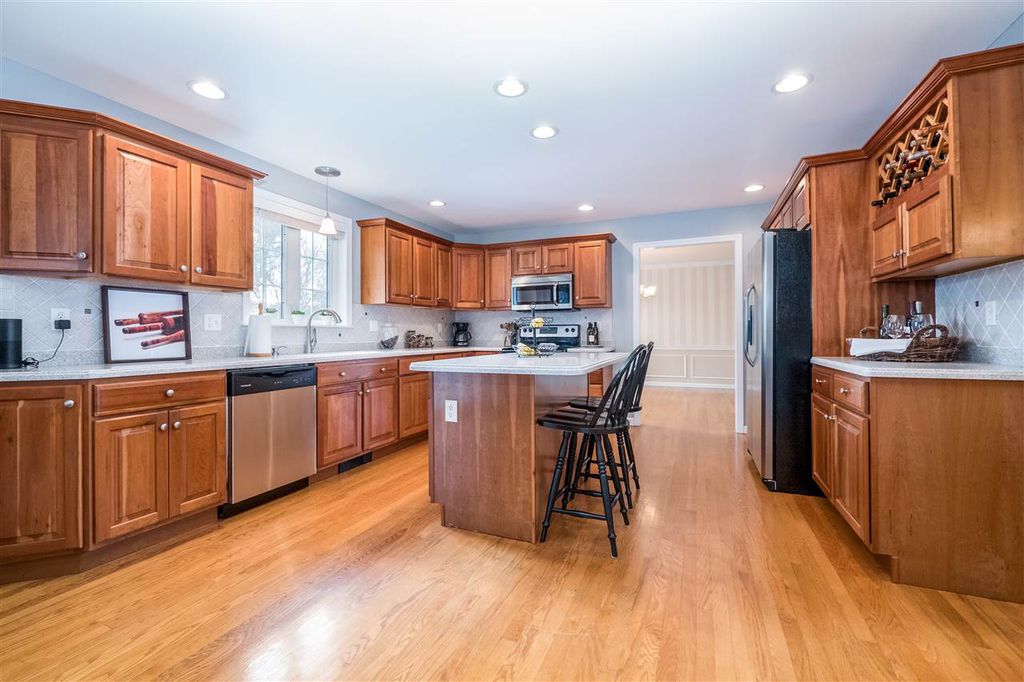
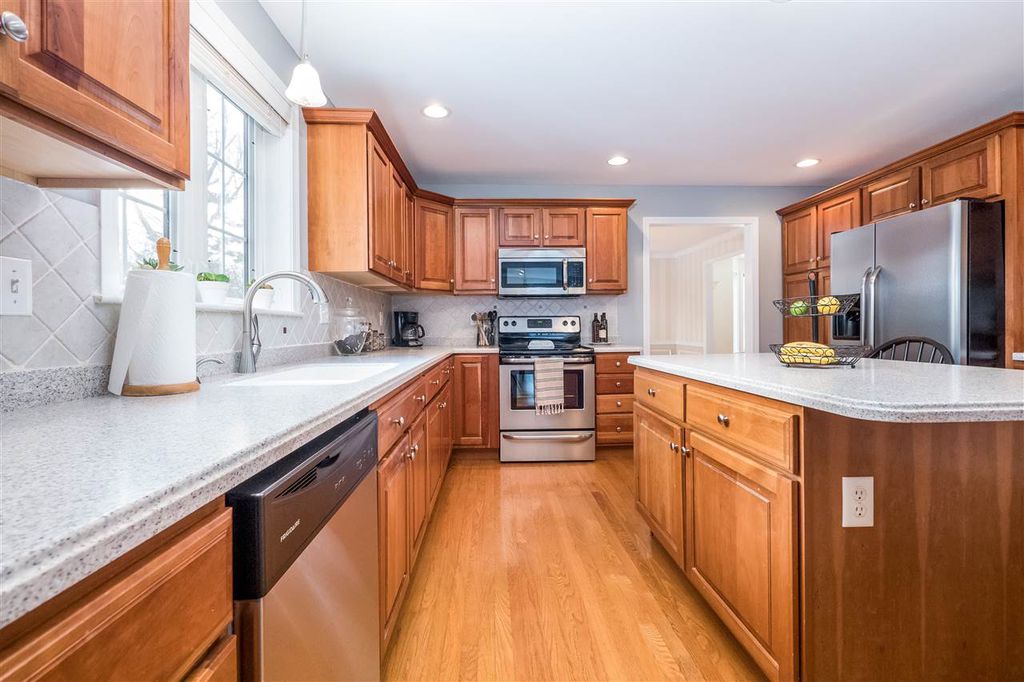
First, a before when we bought the house. (listing pictures)
And finally…
Drum roll please…..
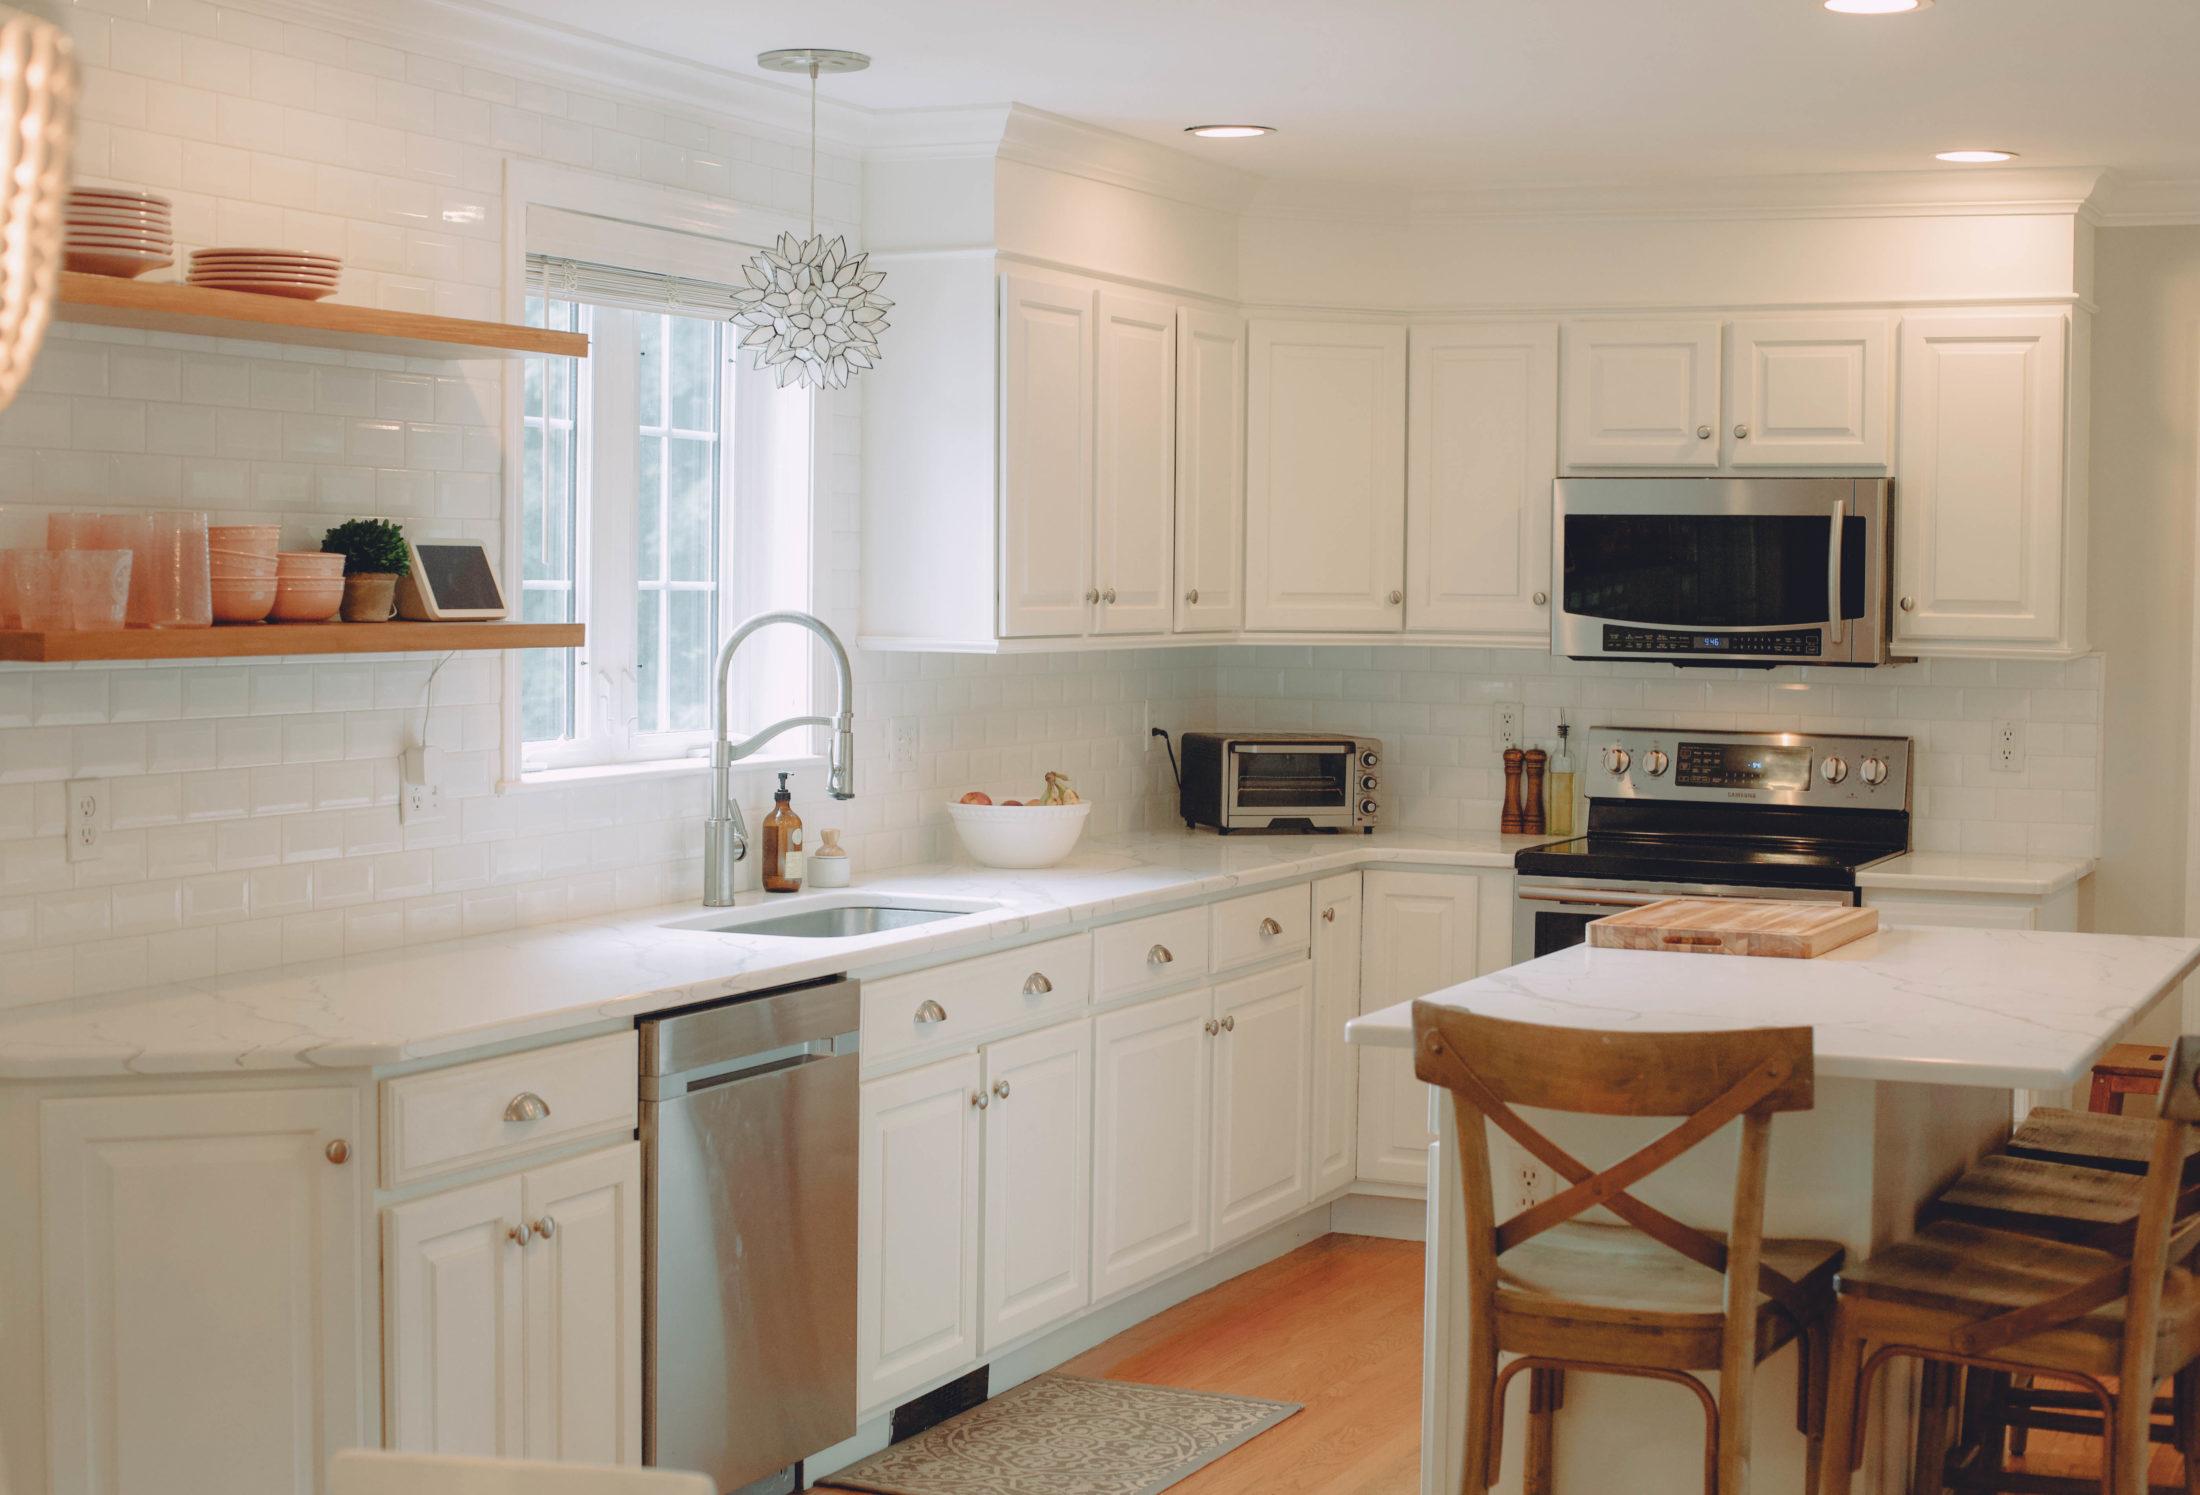
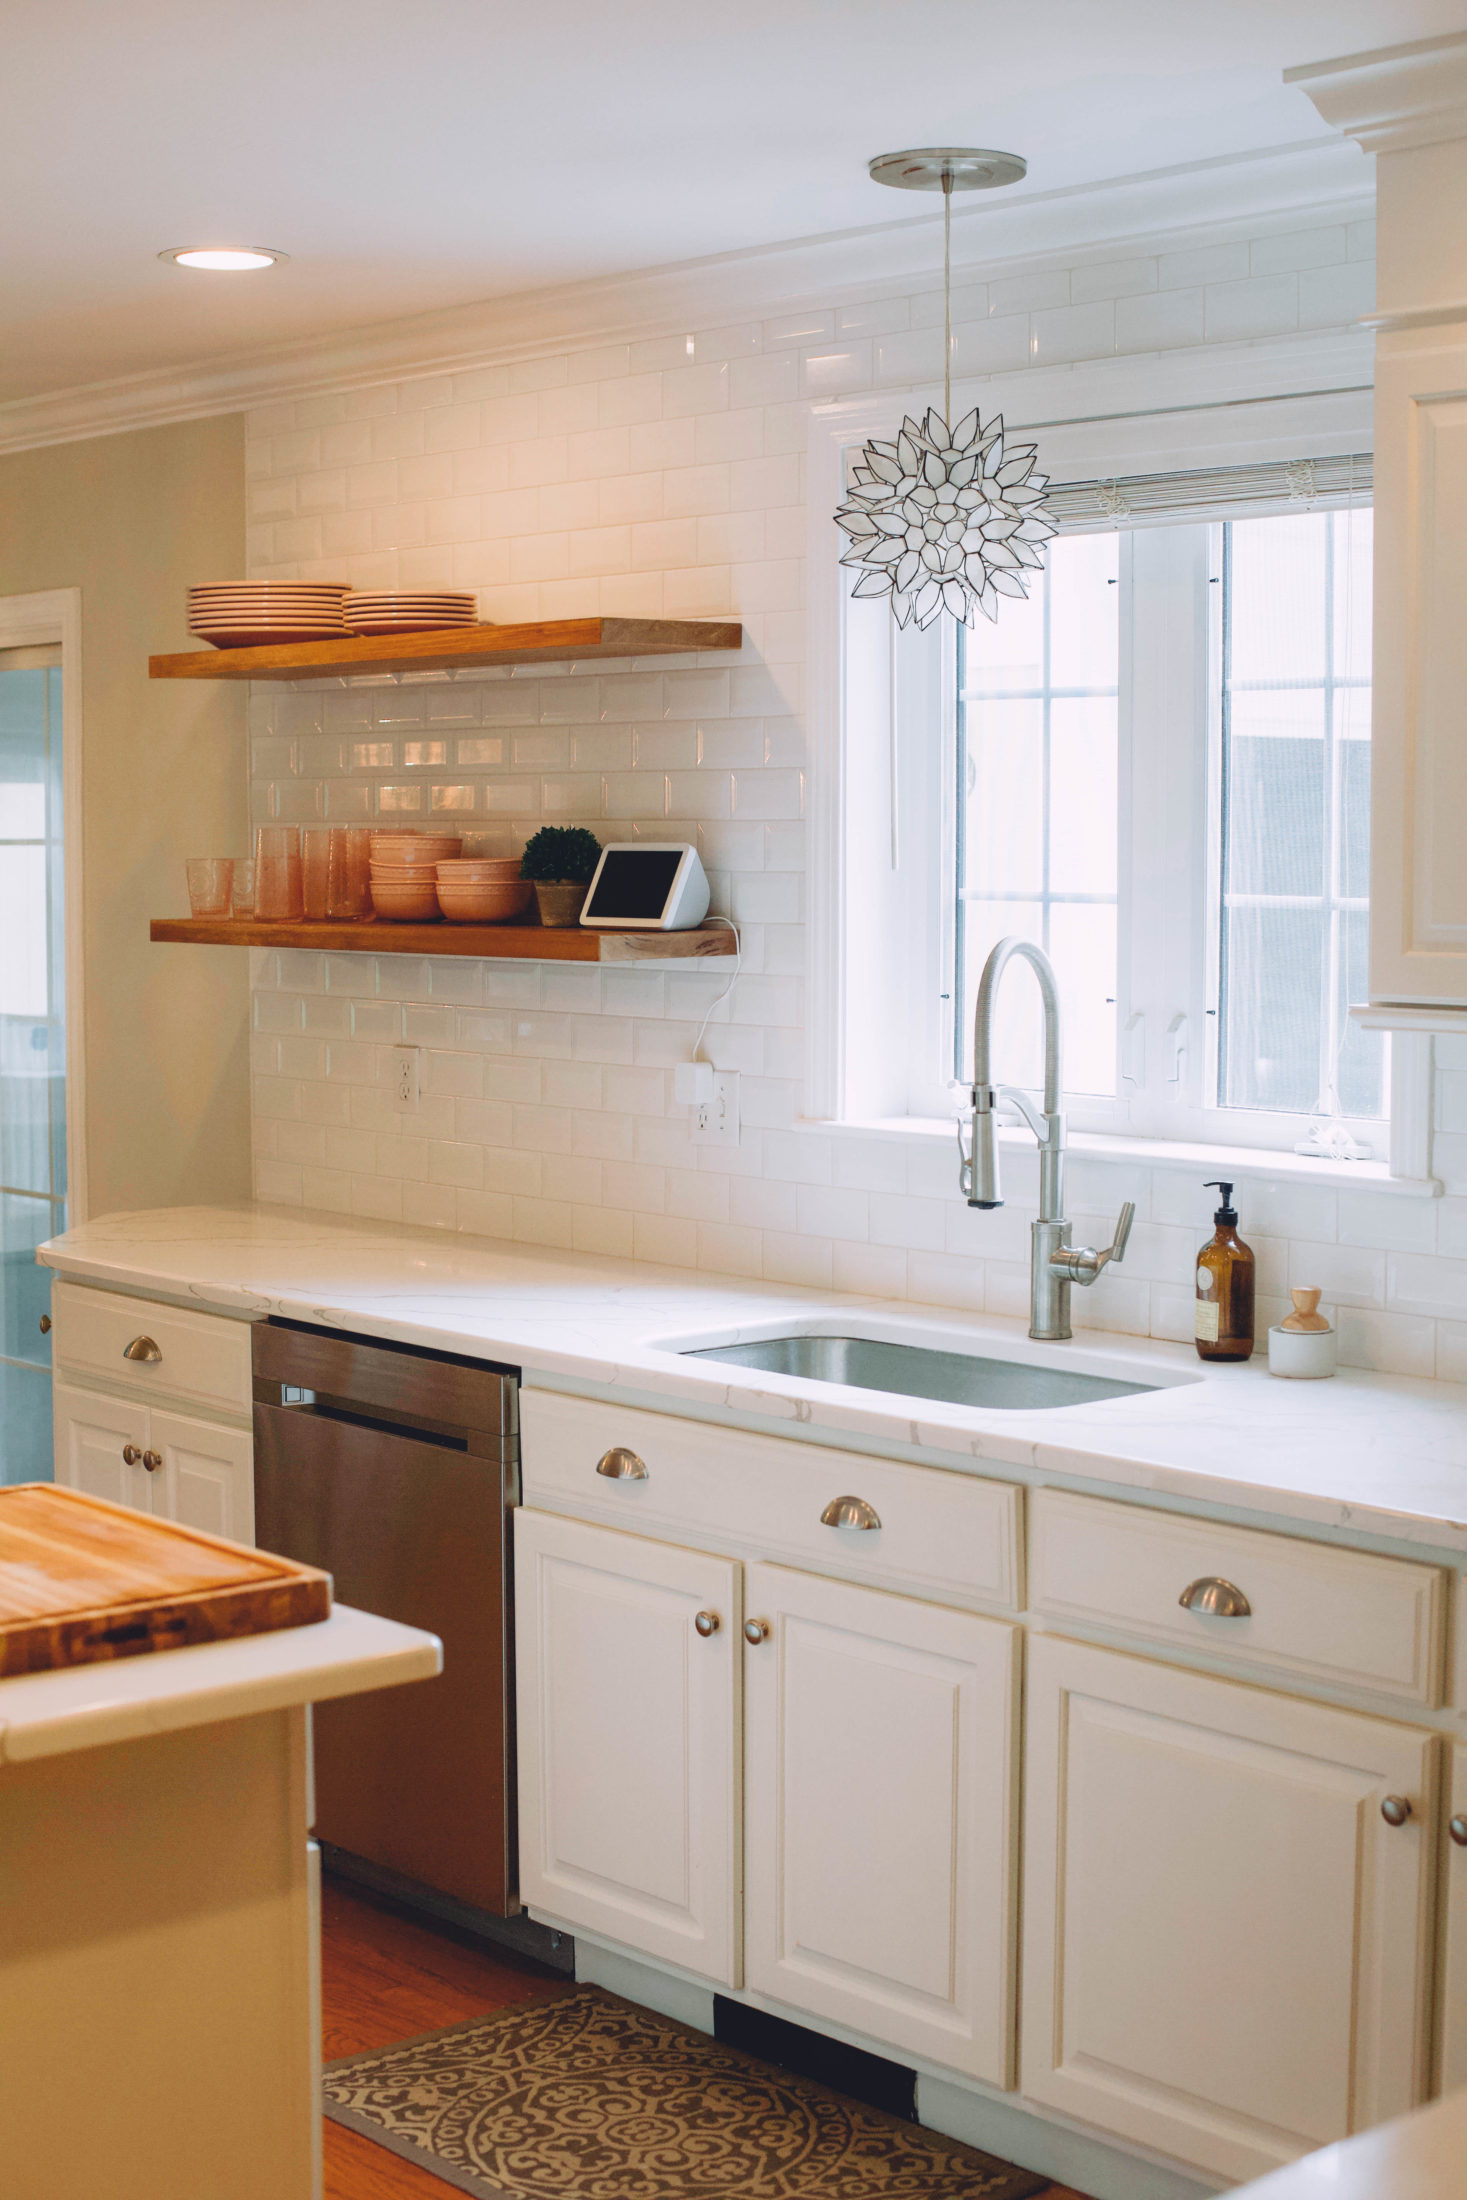

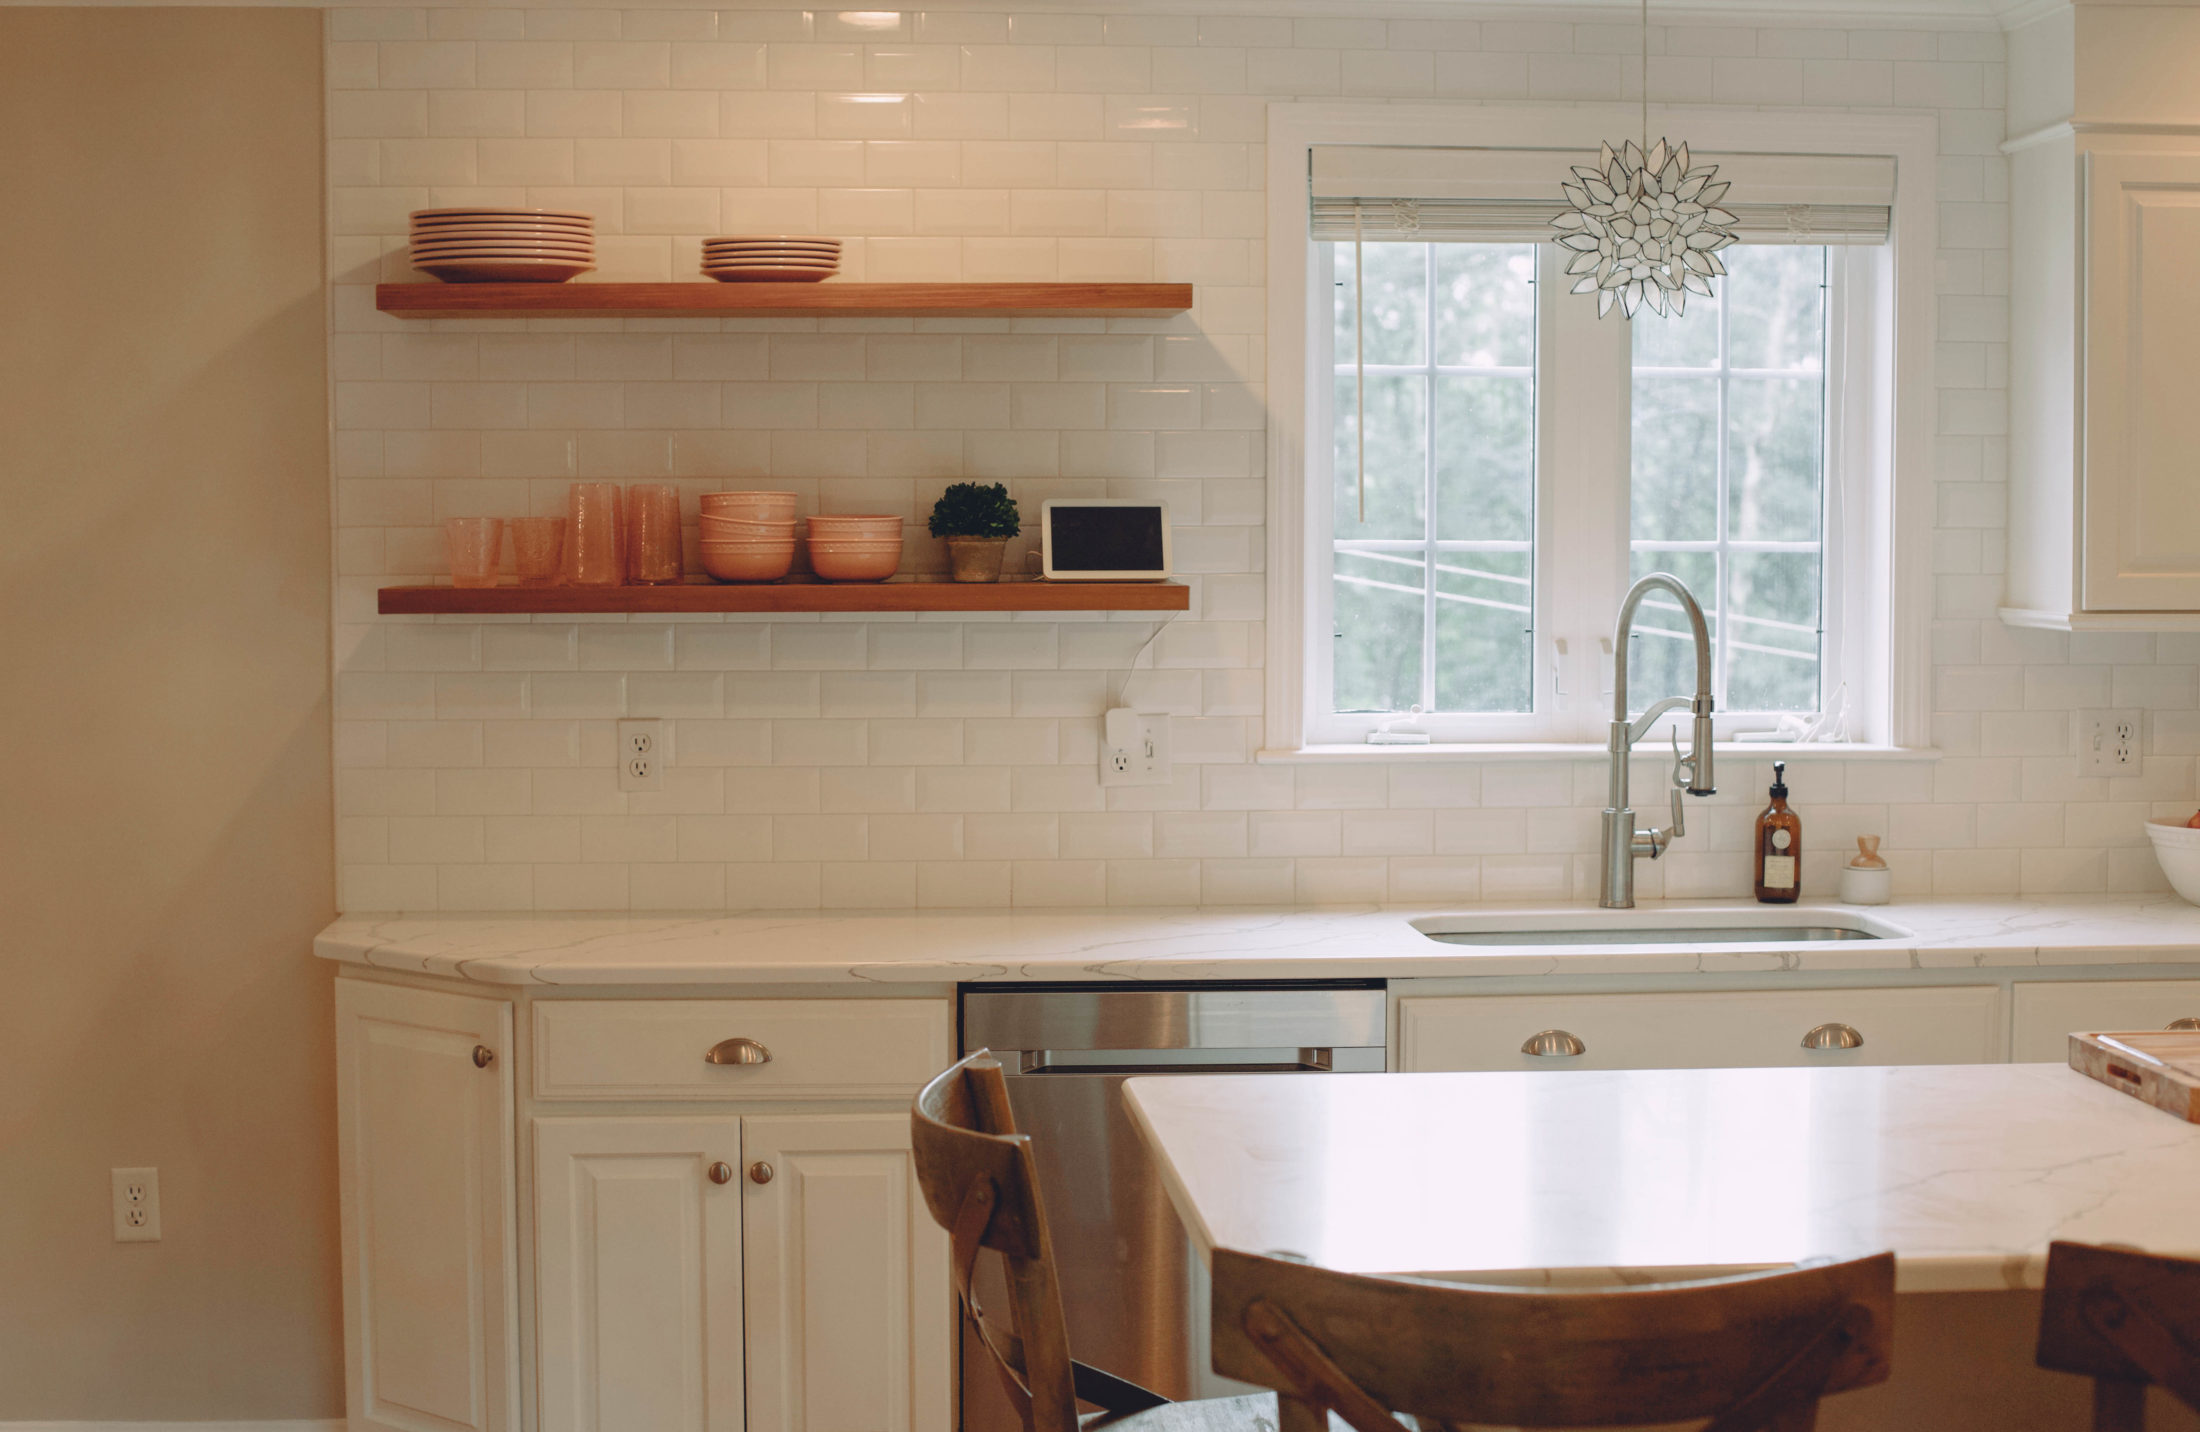


How’s that for a finished product? It looks like a completely different kitchen! I couldn’t be more proud of how it came out. It was a true labor of love, patience, and vision. It is so cool to see that initial list I made three years ago, and check all the boxes (with the exception of the floor refinishing, which I opted to not do since I was selling the house). I am so sad to leave it after we put so much work into it, but I am happy to hand the keys over to a sweet new family to enjoy it.
Shop my updated kitchen here:
Shop my outfit here: https://www.liketoknow.it/ltk/2zATuM50iTqEnELfbbbzy3
If you want a refresher of part one of the renovation, click here.
After photos by Rebekah Scadding
Did you enjoy this post? Don’t forget to subscribe here! Make sure to join the @nicolefergesen community on instagram! Follow me and shop me outfits here. Don’t miss out on updates and inspiration! You can also join my Facebook community and follow my current interests over on my Pinterest. Buy a digital copy of Marcus’ book here.
Leave a Reply